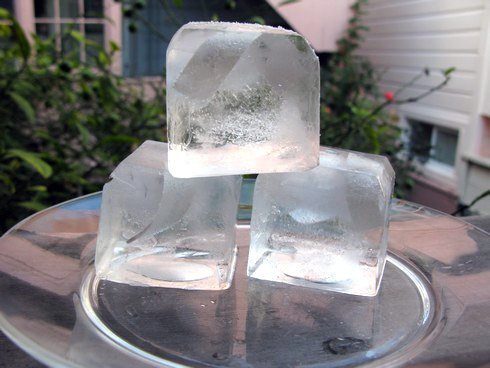
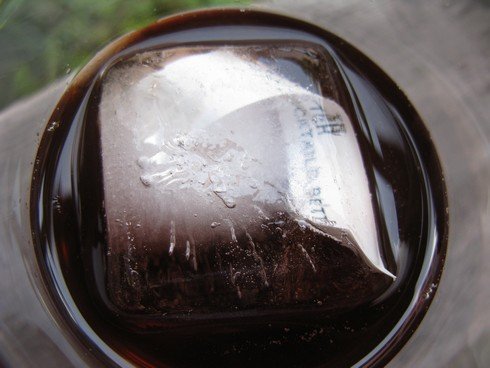
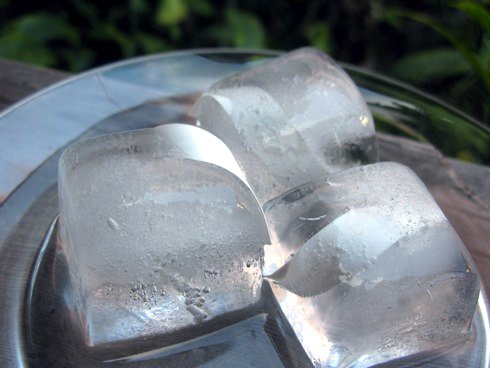
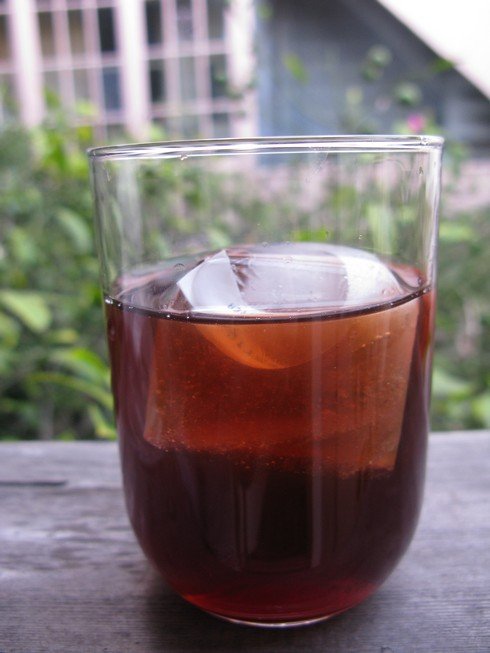
Tag: clear ice

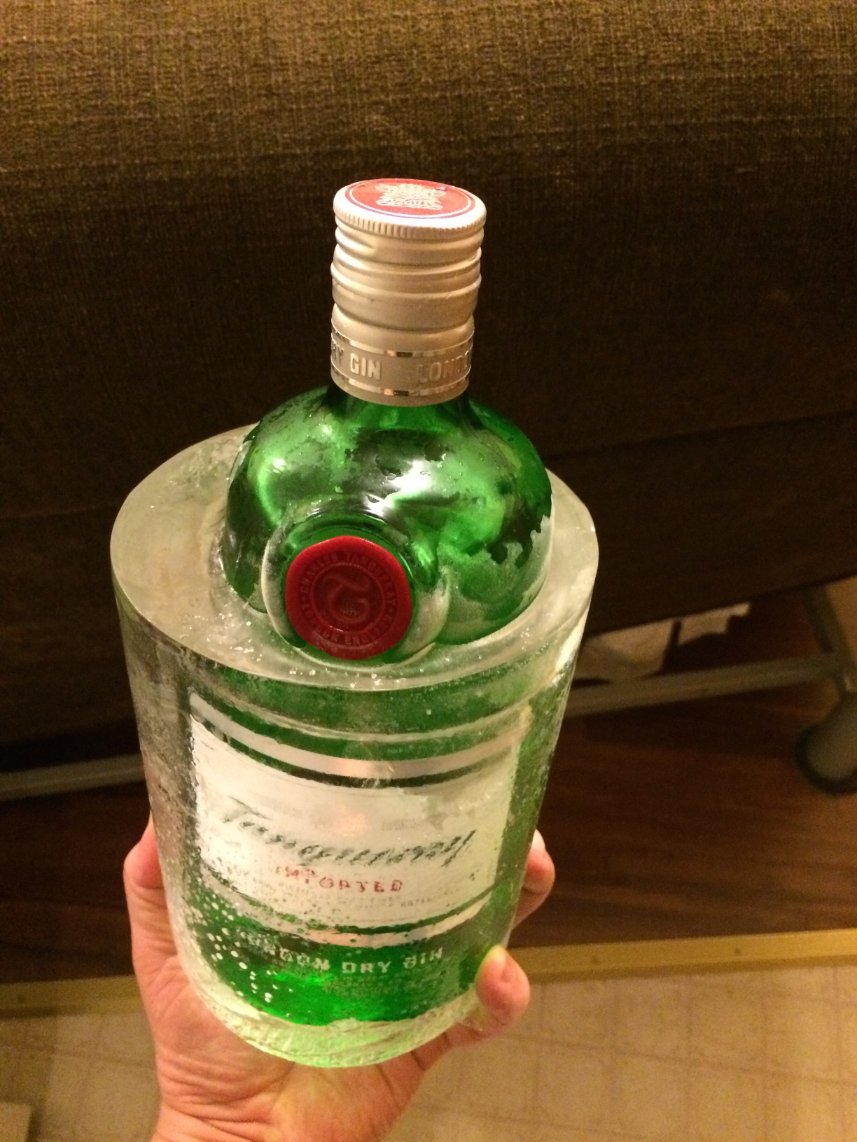
  • Freeze Liquor Bottles Inside an Ice Tube for Better Bottle Service

    Using just a cooler, a tube, and a bottle you can a super funky display for your party or for bottle service at your bar. 

    If you're just getting started into ice nerd stuff, you'll want to check out the Index of Ice Experiments, where you can get a definition of Directional Freezing to see why this works, and see other fun projects. 


    Photo Jun 11  12 15 47 PM (1)

    I originally developed this technique for the bar Whitechapel, which was looking to do a unique Martini cart with frozen bottles. 

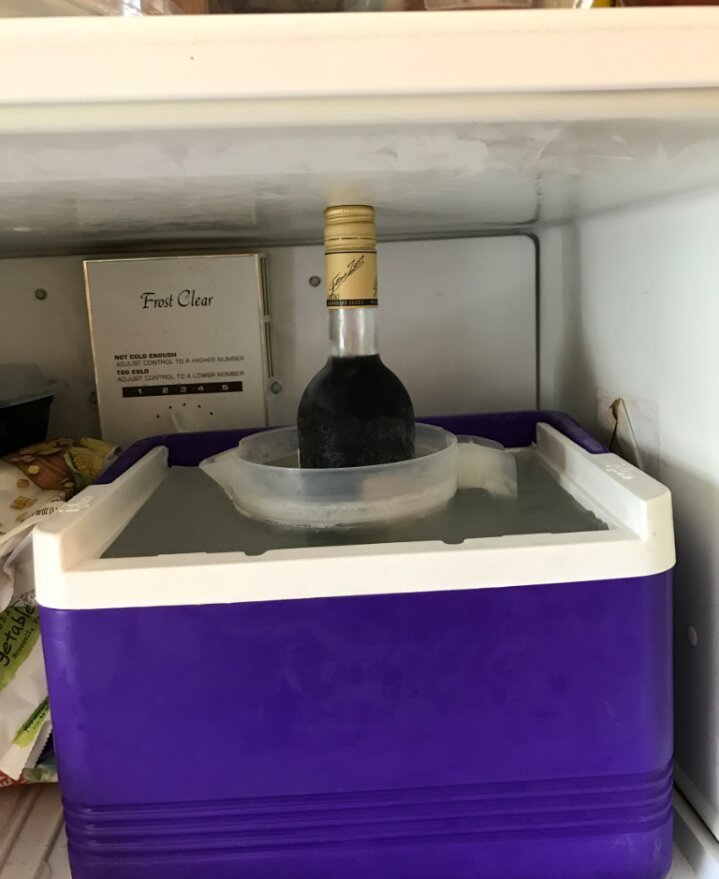
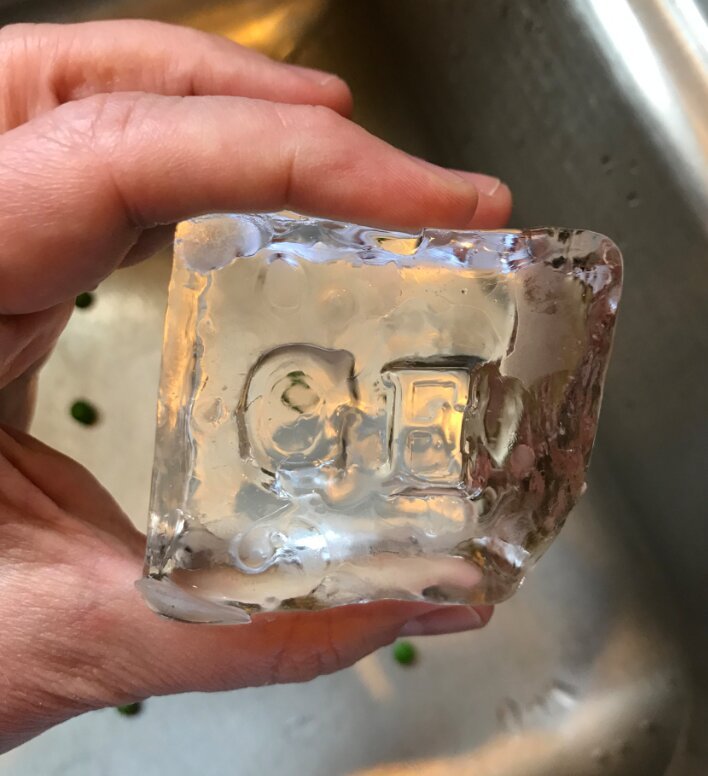
    Simply put a bottle inside a tube of some sort (this is a metal utensil holder like you'd see at a salad bar) and fill both the tube and the rest of the cooler with water. Directional Freezing will take care of making the top part of the ice clear. The cloudy part is all around the bottom of the bottle. If you wanted it 100% clear around the bottle, you'd simply put it on a short riser inside the tube.

    Then freeze it (with the top off the cooler) and pull it out.

    IMG_7390
    IMG_7390
    IMG_7390
     

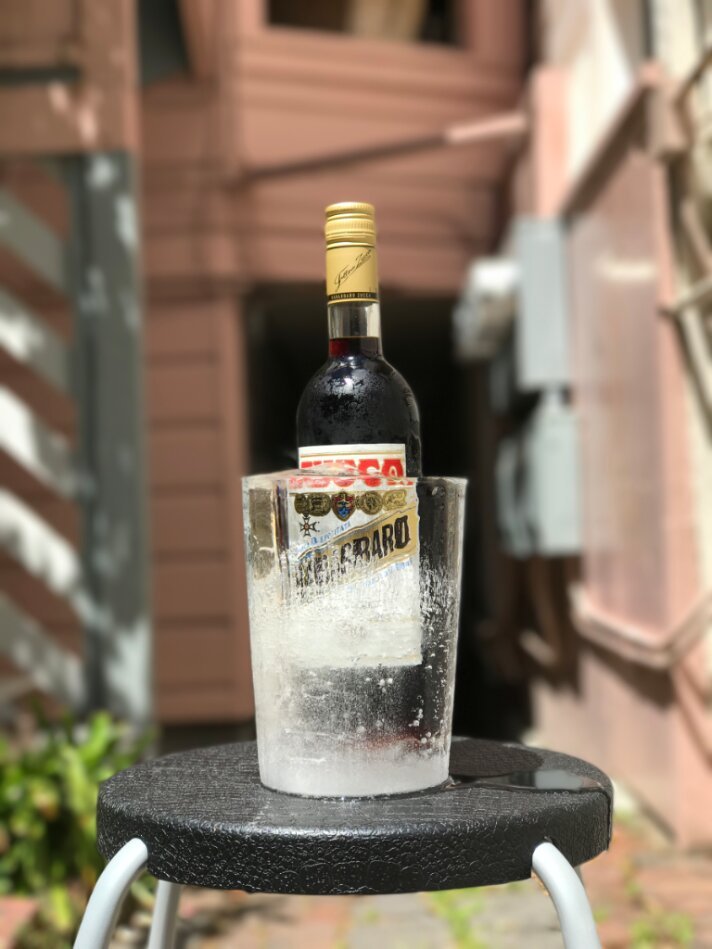
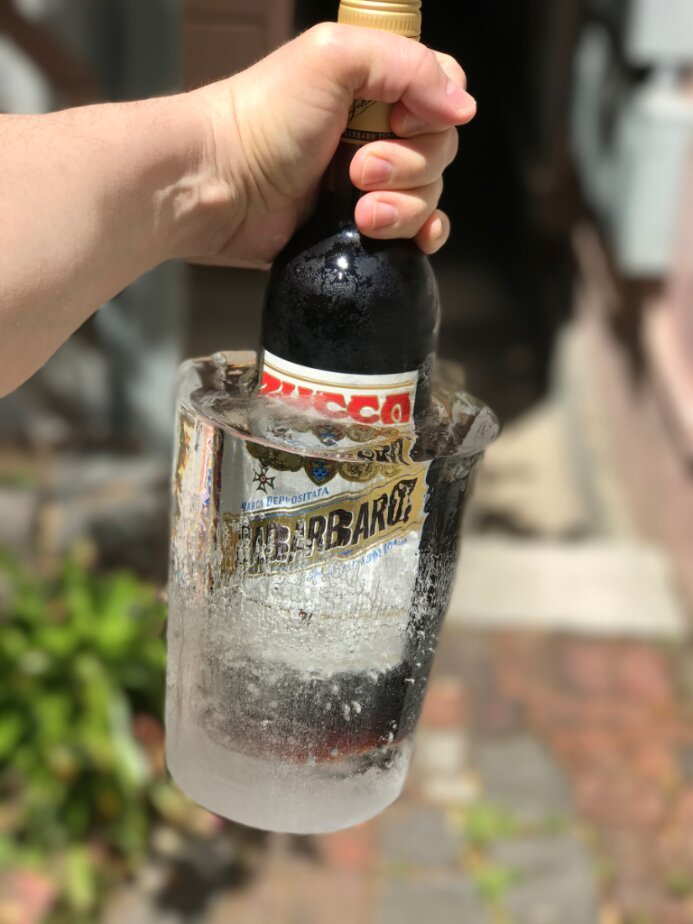
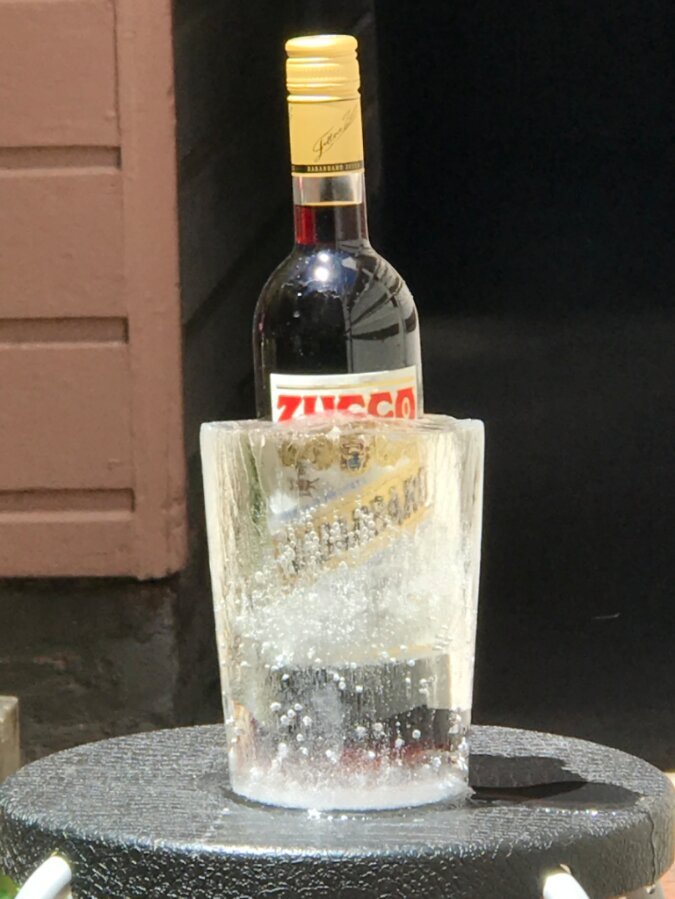
    I did this again with a bottle Zucca as I'm using it for a talk. I no longer had the metal utensil container so I put in a plastic pitcher. I wouldn't say it is the ideal container given that is has irregular sides, but it did the trick for proof of concept. 

    The bottle is a bit problematically tall for my freezer – I almost couldn't get the cooler out! 


    Photo Jun 11  10 55 15 AM
    Photo Jun 11  10 55 15 AM
    Photo Jun 11  10 55 15 AM
    Photo Jun 11  10 55 15 AM
    Photo Jun 11  10 55 15 AM

    Cheers!


    Check out all the ice experiments on Alcademics at this link.
     

  • Edible Flowers Frozen in Incredibly Clear Ice Balls

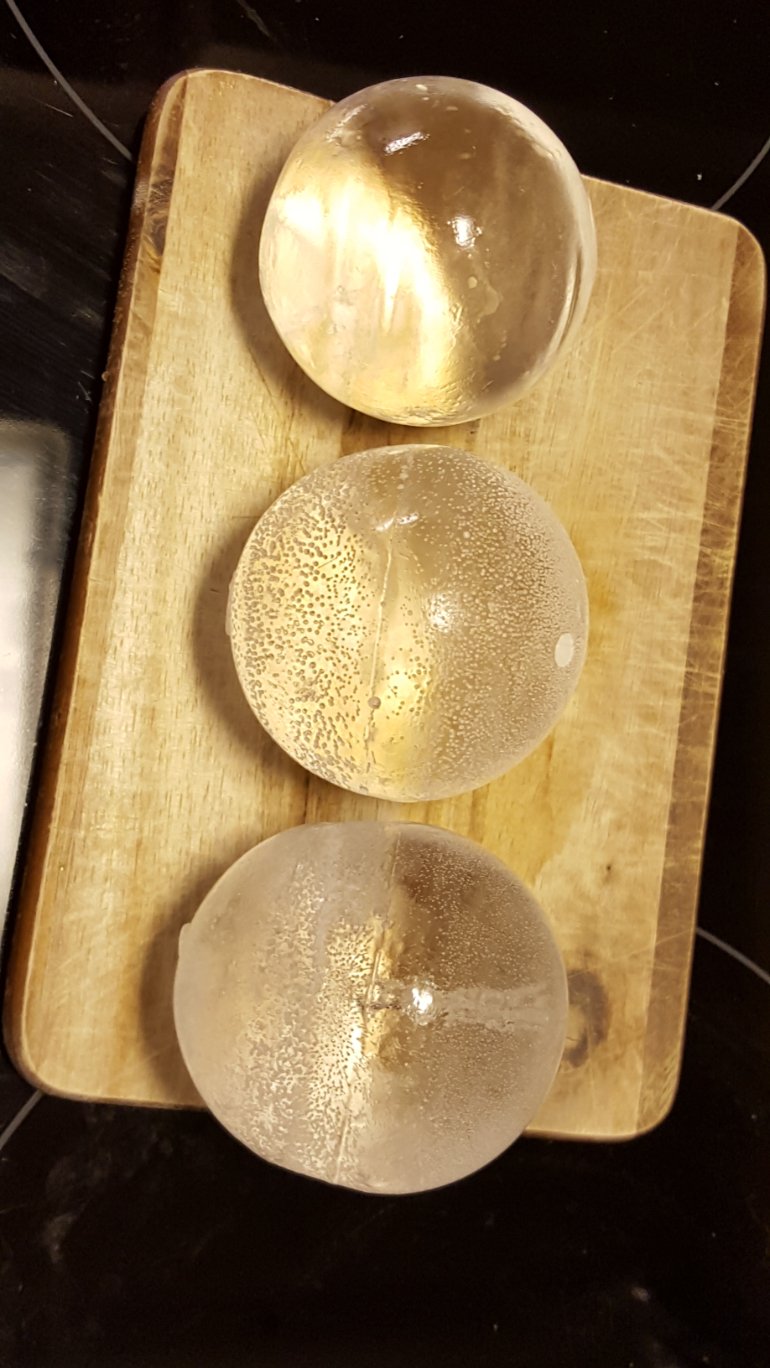
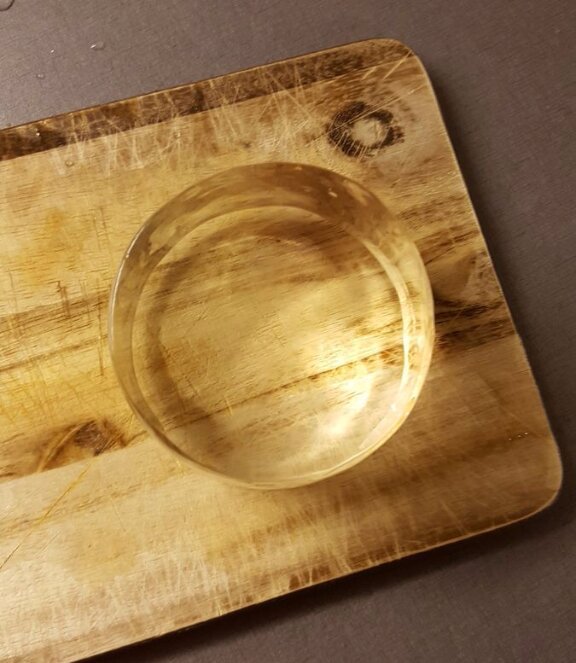
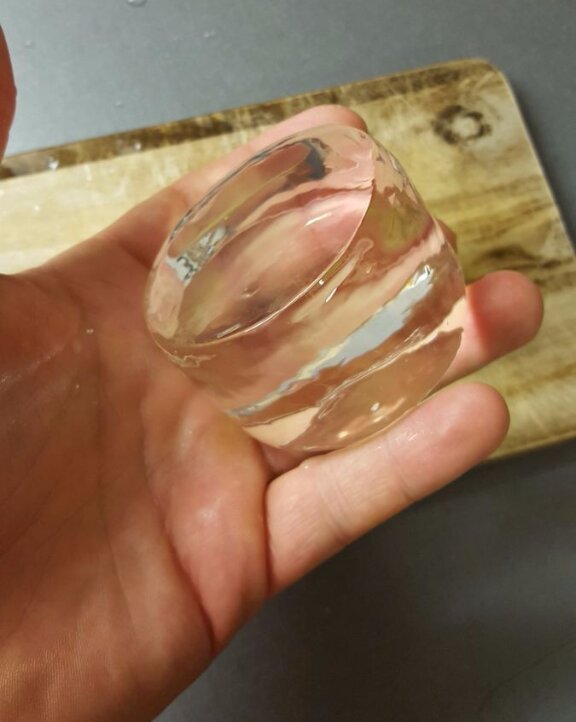
    I'm on a mission to freeze everything I can get my hands on into crystal clear ice balls. 

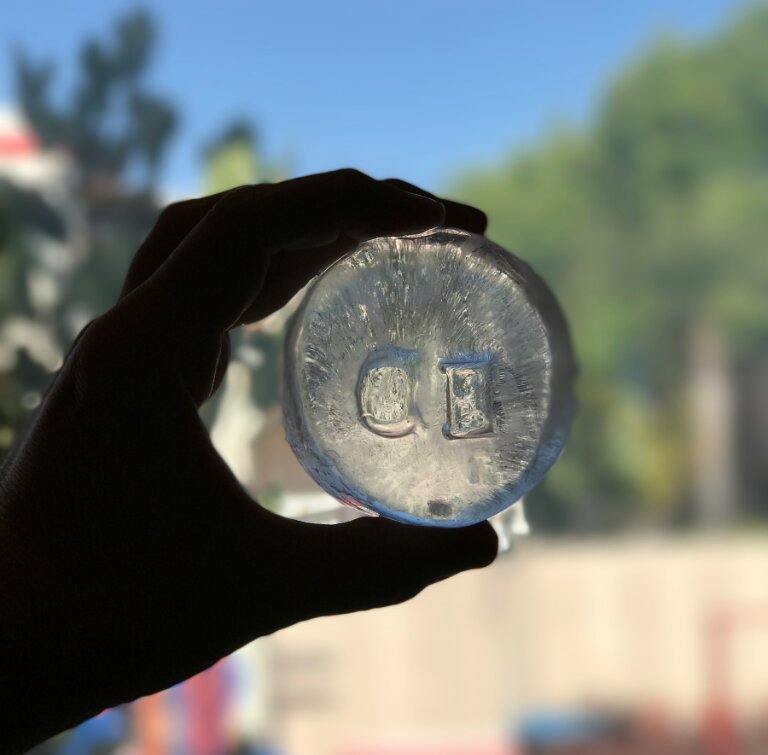
    To make them clear, I'm using a thermos and ice ball mold – you can read about the method to make clear ice spheres on this post. 

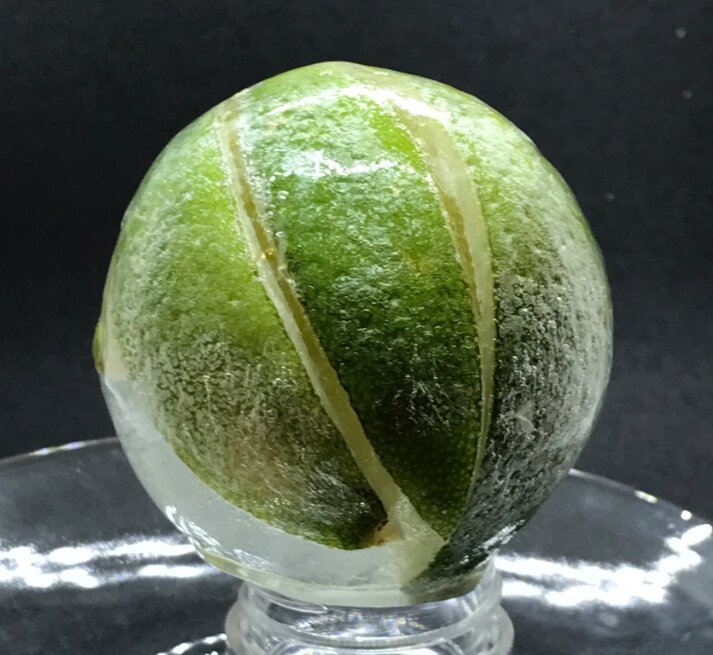
    In the past, I've made plain clear spheres, spheres with a spiralized lime, and a whole bunch of other lime slices and wedges. It's been fun.

    You can see all of the many ice experiments at Alcademics here at the Index of Ice Experiments.

    I also bought a bunch of edible flowers and toyed with those. Note that if you're going to reproduce these at home, it's really important to use edible flowers, not regular flowers that may have been coated with pesticides and such. 

    I started with edible orchids:


    Photo Apr 09  1 58 14 PM


    orchid frozen in ice sphere


    I also tried other flowers: 


    edible flower frozen in ice sphere
    edible flower frozen in ice sphere
    Photo Apr 09  2 38 49 PM (2)
    edible flower frozen in ice sphere


    Once again you can read about how to do that here.

    And for more pics of my ongoing ice experiments, check out my Instagram page.  

    You can see all of the many ice experiments at Alcademics here at the Index of Ice Experiments.


  • Fun with Limes Inside Clear Ice Balls

    Photo Apr 04  11 41 43 AMUsing this method of directional freezing (developed here on Alcademics) with thermos containers and ice ball molds to maximize the clarity of ice balls, I have been playing around with putting objects inside ice spheres. 

    I first did a spiralized lime that you can see here – it came out pretty awesomely. 

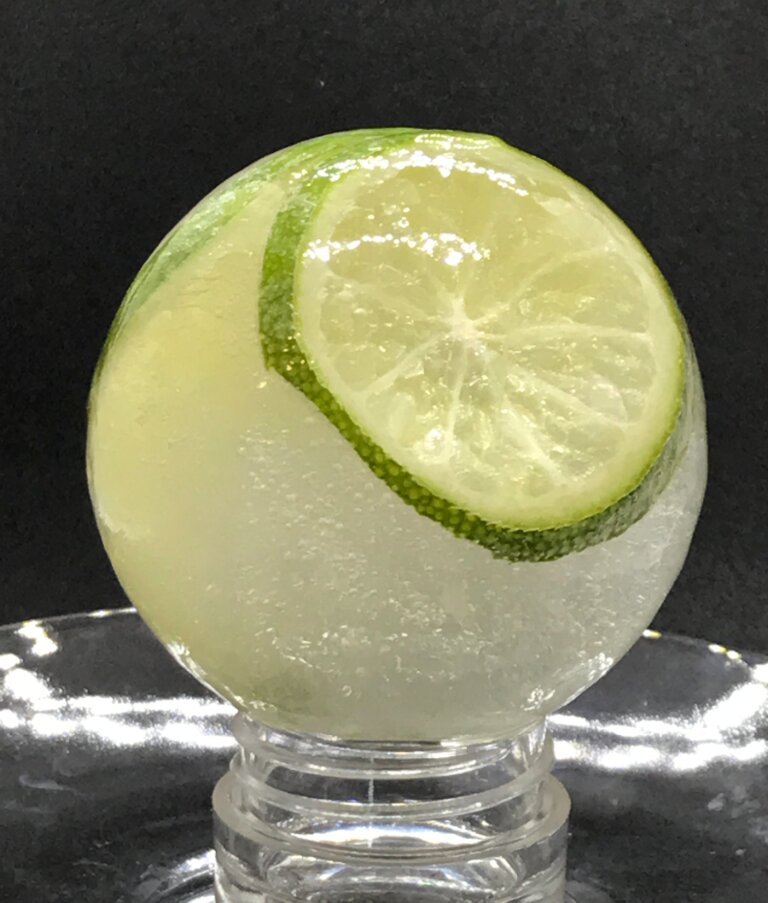
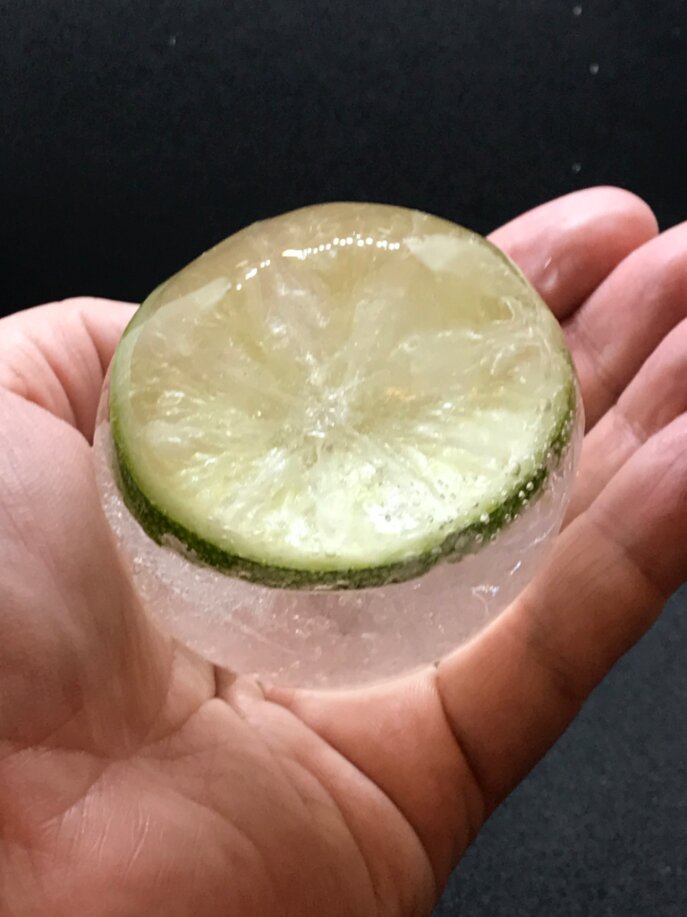
    Then the other day I made some lime wedges and lime slices and put them in my ice ball molds. 

    When you freeze limes, it squeezes out some of the juice so the ice ball isn't crystal-clear as it is using this method with solid objects, but it still looks great and inside a cocktail you'd probably not notice. 

    Photo Apr 01  12 07 47 PM (1)

    Photo Apr 04  11 43 09 AM (1)

    Photo Apr 04  11 43 41 AM

    Photo Apr 04  11 50 04 AM

    To keep up on my ongoing icesperiments, follow along on my Instagram page


  • How to Make the Death Star Ice Mold Turn Out Clear

    Update: Learn more about this in The Ice Book, out May 2023!


    A28F700F-A39F-4F58-BC33-60E8FD785743

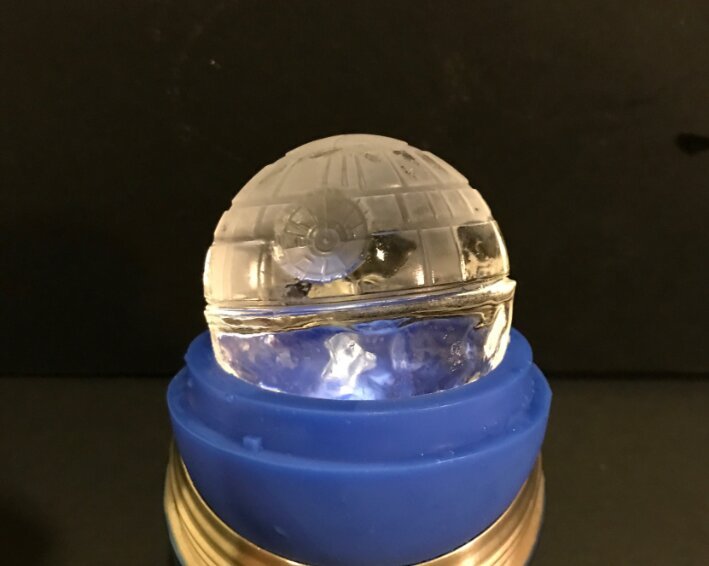
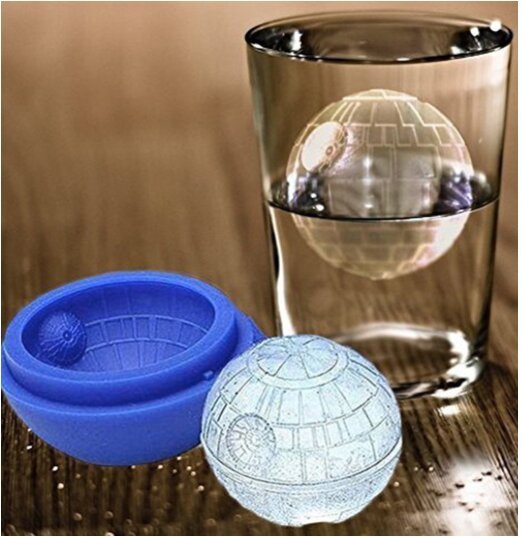
    Did you receive one of those cool Star Wars Death Star ice molds as a gift (or buy one for yourself), only to have it come out looking not like the advertisement:

    Screen Shot 2016-12-24 at 9.47.27 AM

    Image from the ad on Amazon.

    But more like this?

    14563CC4-9D54-453A-A2E3-FB5FBC0EB596


    Yeah, more like post-Skywalker Death Star. 

    Don't worry, I have a fix for you. The trick is take advantage of Directional Freezing, a technique I pioneered here on Alcademics.com. 

    In a nutshell, the regular way ice ball will freeze is from the outside-in. The ice "wants" to be clear in a nice neat organized lattice so it pushes trapped air into the center of the ball, where it appears cloudy and also cracks as it expands. With Directional Freezing, we make sure the ice ball freezes from the top to the bottom, pushing that trapped air out the hole in the bottom. 


    Unnamed-1

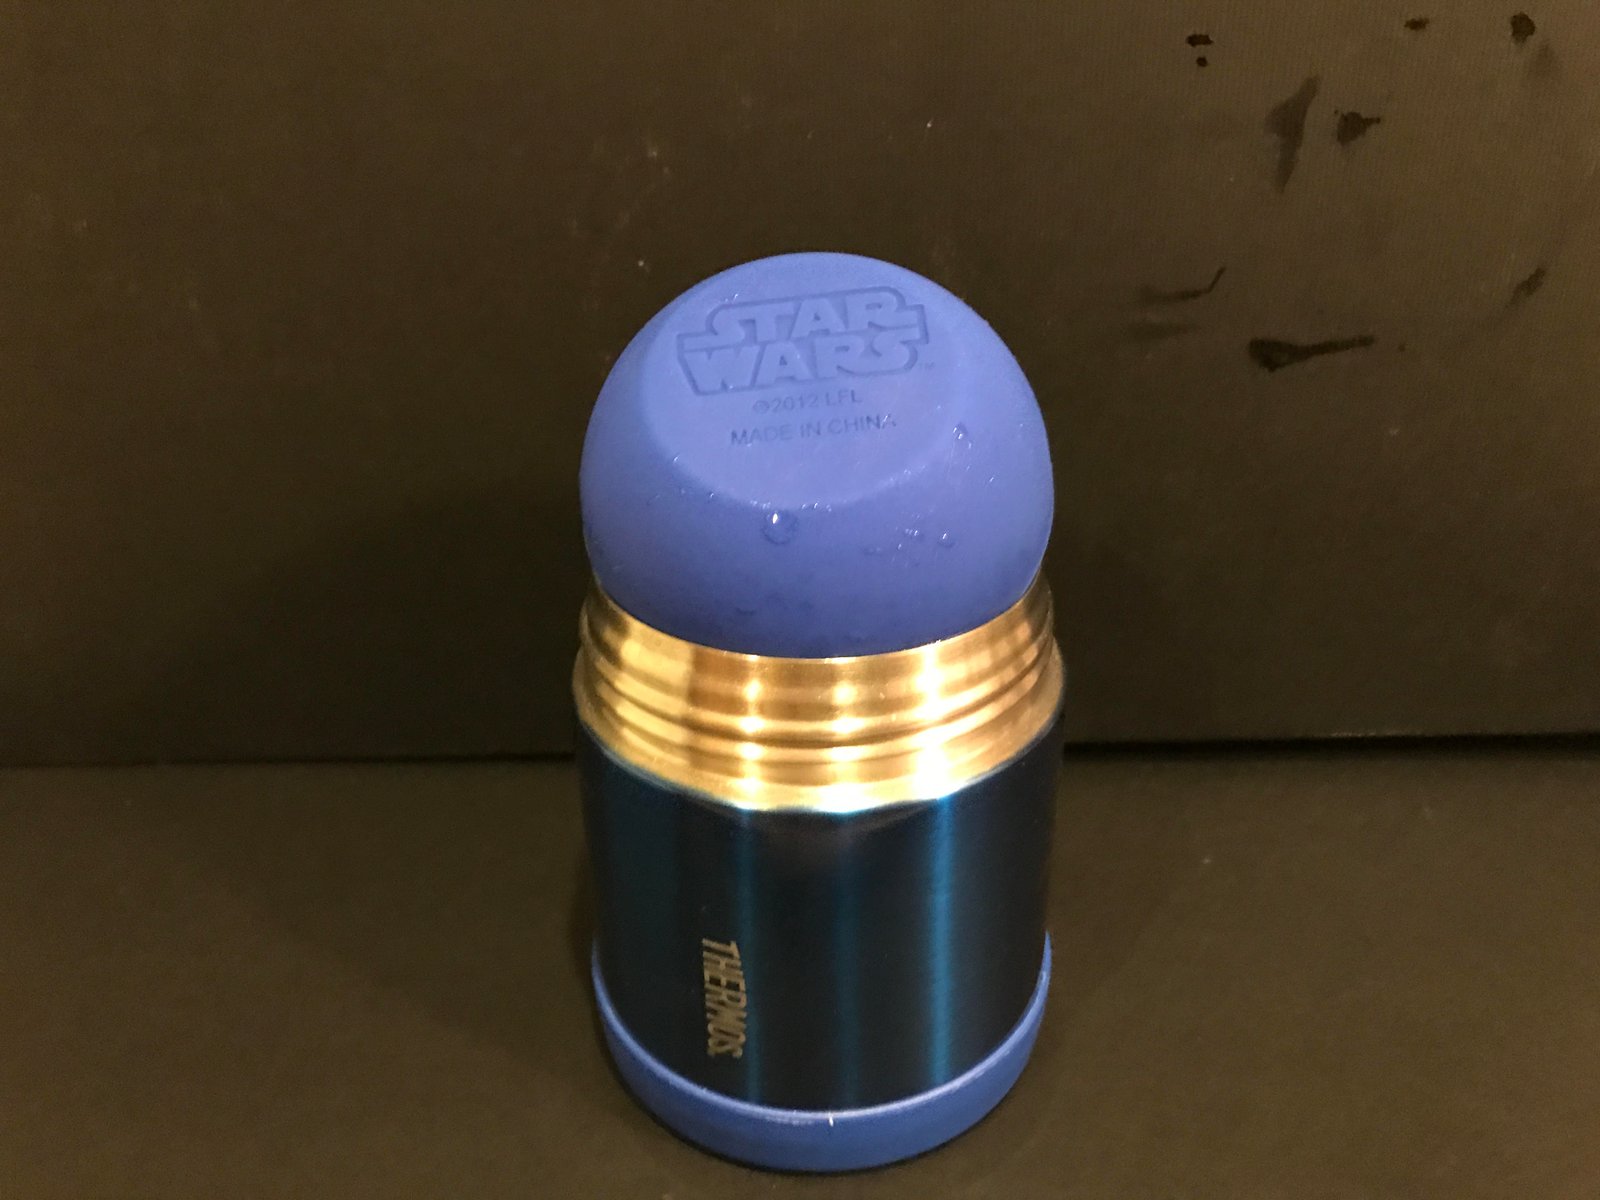
    We accomplish this by using a Thermos Funtainer (or other similar insulated mug, but this one fits the 2.5" ice ball molds perfectly and takes up the least amount of space in your freezer). 

    1. Fill the Thermos with water
    2. Fill the Death Star ice ball mold with water (I use water from a Britta filter)
    3. Hold your thumb over the hole in the Star Wars ice ball mold and turn it upside down, setting it on the Thermos with the hole facing into the thermos. 
    4. Put it in the freezer and wait 12 20 hours or so for it to freeze, depending on your freezer. 

    The ball should now be super clear. 

    Unnamed 6B96F31F-D0C1-4141-B6C6-DF4AC4CBC84C

    Common issues are that it comes out more egg-shaped or that it's a touch cloudy on the last part to freeze (where the hole is). If you're experiencing that, try:

    • Move it so that the hole is either directly down in the center of the thermos, or a little on an angle towards one side (depending on if your freezer is excessively cold or warm)
    • Beware excessive vibration/jostling the container in your freezer, usually caused by opening and closing the door a lot. This can cause bubbles and stop the directional freezing process. 
    • Some super-obsessed Alcademics readers claim that to get every last cloudy bit out of the ice ball (often the last part to freeze is slightly 'frosty' in appearance), use bottled water. We haven't figured out why this would make any difference, but they claim it does. 
    • Most sink faucets have a aerator on them – even if your water doesn't need to be filtered, letting it sit a while or removing the aerator can help if the ice is still cloudy and freezes fast. 

    Enjoy your super clear Star Wars Death Star ice balls, and may the force of Directional Freezing be with you.


    To see all the many, many ice experiments on Alcademics, follow this link to the Index of Ice Experiments


  • What is Directional Freezing?

    Directional Freezing is a simple method to make crystal clear ice by controlling the direction that water freezes. It was first explained here on Alcademics.com by Camper English (me) in December 2009 after months of experiments.  The method has been written about in books, used in commercial products, and is employed in many small cocktail bars around the world. 

    The Directional Freezing method is: Allow water to freeze into ice from only one direction (one side of a container) and the ice will be clear until the very last part to freeze. The last part to freeze (if allowed to freeze at all) will be cloudy. 

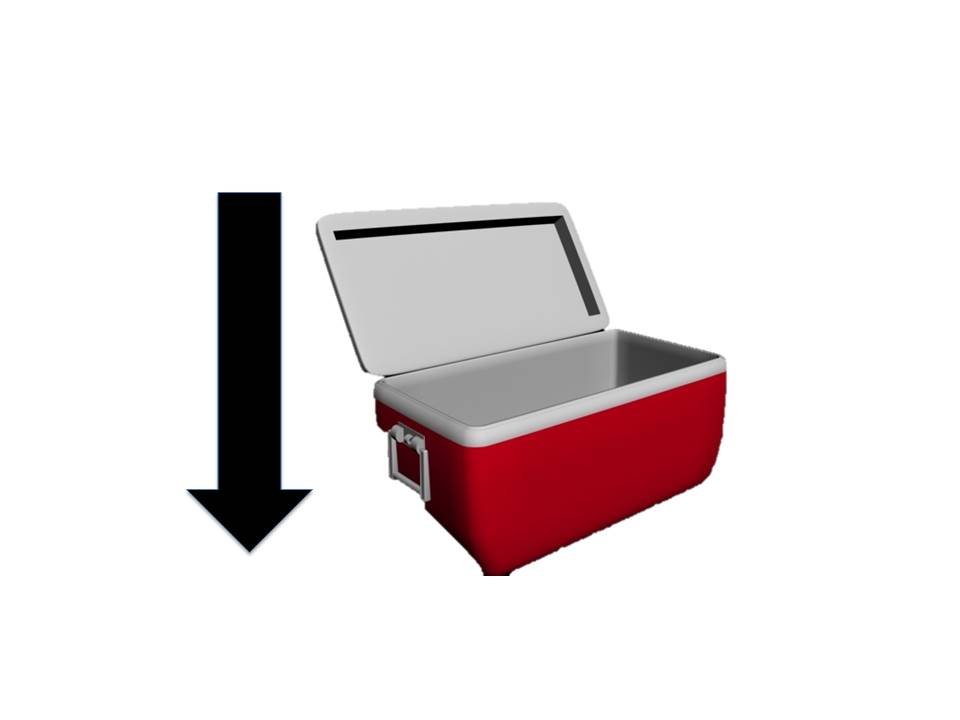
    Slide2The simplest (and original) way to make a clear ice block by directional freezing is to fill a hard-sided picnic cooler with water, place it in a freezer, and allow it to freeze with the cooler's top off. The water will only freeze into ice from the top-down, and only the last 25% or so of the ice block that forms will be cloudy. If the block is removed from the freezer before this point, one will have a perfectly clear slab of ice. Otherwise, the bottom cloudy portion of the ice block can be cut off from the clear part. 


    How Traditional Ice Cubes Freeze and Why They Are Cloudy

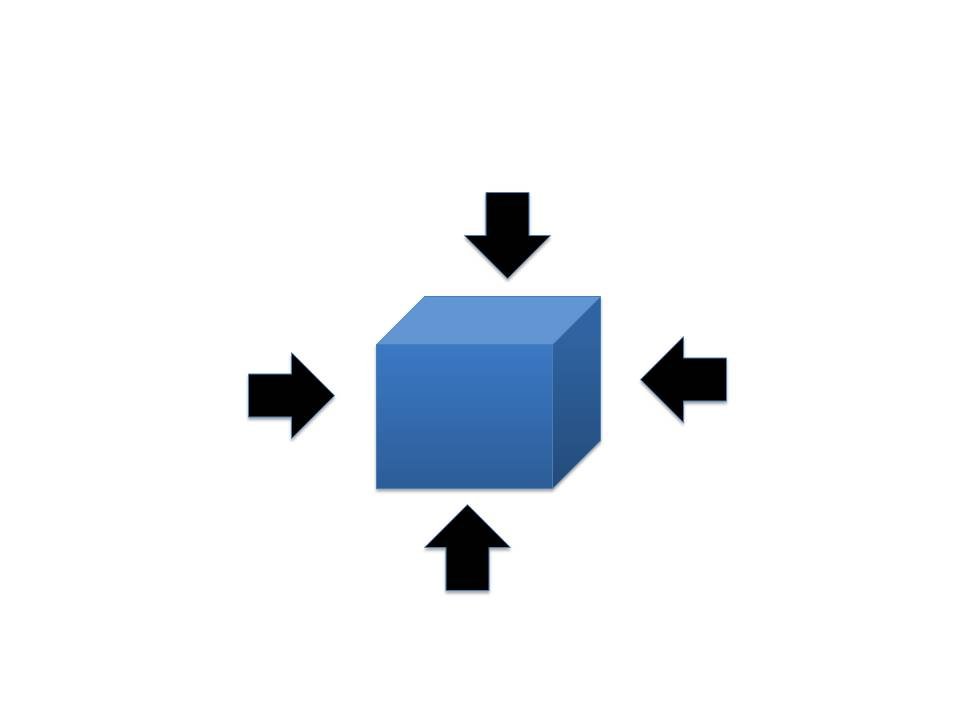
    Slide1In a traditional ice cube tray, which is not insulated on any side, cool air hits all sides of the tray. Ice forms on the top, bottom, and sides, and freezes from the outside toward the center. It is the center part of an ice cube where it is cloudy and cracked (the cracking through pressure because ice expands as it freezes), while the outsides are typically clear.

    We say that ice wants to freeze into a perfect crystal lattice (though want isn't the proper term) and trapped impurities and air prevent it from doing so. When water freezes, it pushes any trapped air and impurities away from the first part to freeze. In a traditional ice cube this is towards the center of the cube. Using directional freezing, it pushes the air/impurities/increase in pressure towards the bottom of insulated cooler (or the last part of any controlled-direction freezing container). 

    Further Reading

    This link to the index of ice experiments on Alcademics lists just about everything myself and Alcademics readers have tried to make clear ice: experiments that failed (such as using boiled water), how to make clear ice cubes, how to make clear ice balls, and using other shapes and containers to save space in the freezer. 


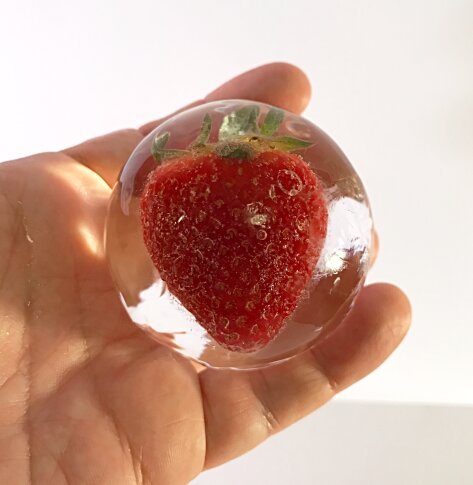
    Strawberry ice sphere (30)


  • Make Perfectly Clear Ice Balls Using a Beer Koozie

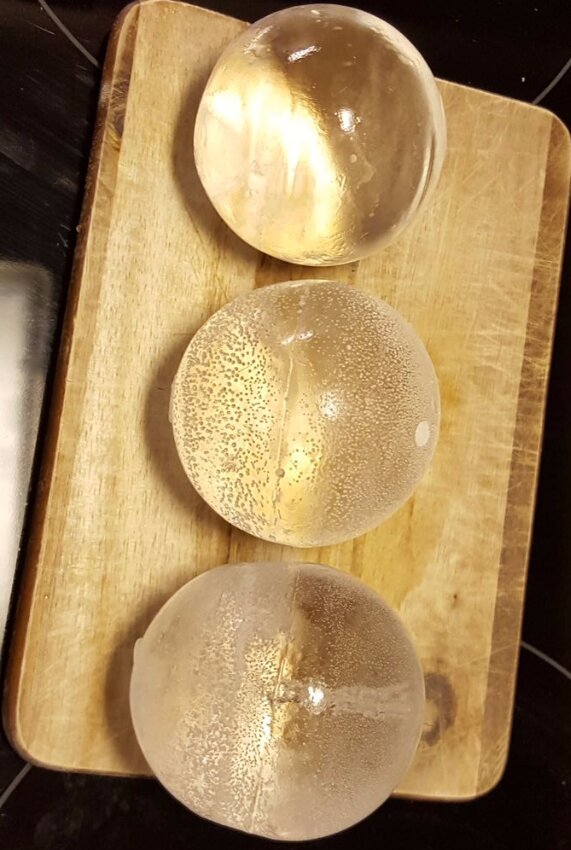
    Boiled vs two unboiled
    Alcademics readers have found numerous ways to make clear ice balls, all taking advantage of Directional Freezing, the process I developed (and named) to make perfectly clear ice using an insulated cooler.

    You can find an index of all the ice experiments on Alcademics here.

    Some of the ice ball methods are:

    Today's technique is a variation of Making Clear Ice Balls Using an Insulated Mug (probably the least space-intensive method), which I fact-checked here. It's basically just a different insulated mug. 

    This technique comes from Alcademics reader Cody P, who refined the method. He says, "Doing ice balls like this is just like your article on using a mug, but I left a few mugs too long and they broke from expansion (no big deal if a little can breaks)."

    This method uses a beer can in a koozie with the top cut off. 

    The technique is:

    1. Buy a Yeti Colster. (Another brand might work, but Yeti makes particularly good insulated mugs/koozies.)
    2. Buy some ice ball molds. Cody P said he thinks he bought his (seen in the pictures) at Williams Sonoma, but they're the same size as these 2.5" ice ball molds.
    3. Cut the top off a beer can (and consider filing or taping the top edge to prevent it cutting you when using. 
    4. Put the can in the Colster and fill it with water.
    5. Fill an ice ball mold almost full (leave a little room) with water.
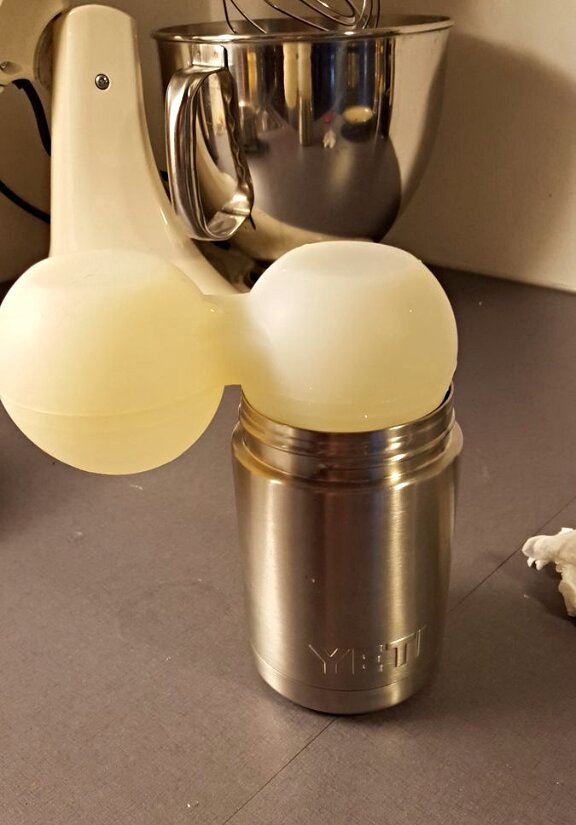
    6. Hold your thumb over the hole of the ice ball mold and set it upside-down (hole facing down) on top of the can in the Colster. 
    7. Allow to freeze overnight or roughly 8-10 hours. Remove frozen ice ball. 

    Can and coozy

    Removing excess water
    Removing excess water

    Boiled vs two unboiled

    (For first-time readers, what is happening is that the water in the ice ball is the first part to freeze, pushing trapped air/impurities away from the point of freezing down into the insulated mug.)

    Though I've not had additional success with boiling water before freezing, Cody P has. He observed: 

    1. If you boil the water then the ice comes out SUPER, unboiled gives these air bubbles on the surface but still comes out 100X better than a regular mold.
    2. If you don't pour out some water like I'm doing in one of the pictures, your ball can become an egg as seen in the ice ball picture.
    3. It takes about 8-10 hours to freeze a ball in my freezer but I'm not sure what the temperature is.
    4. If you just want blocks of ice, regular tap water works great since it freezes super slow and is a small volume of water (I think). I found that after about 14 hours I can take out the large block you see and break it in half to use for whiskey and such. They are also decent sized to use an ice ball press.

    Pictures of the ice from the bottom of the can are below.

    Boiled4
    Boiled4


    Thanks much to Cody P for the method and for sending in the pictures!


  • A Clear Ice Ball Maker You Can Buy

    One difficulty with the Igloo Cooler method of making clear ice is that you get a great big block of ice at the end and have to cut it up into usable cubes yourself. I developed an ice cube tray using plastic boxes that gets the ice into long rectangles, and that's a bit closer to ideal. 

    • Ice cube tray
    • Ice block
    Ice block


    But if the desired result is round clear ice balls, we need to either produce a mold that fits inside the cooler, or else carve out ice balls afterwards.  

    Well, it turns out that someone produced such a mold to make clear ice balls one at a time, using the same principles as the Igloo cooler method. 

    Alcademics reader Todd pointed me to this ebay listing for a clear ice ball maker from Japan.


    Ice_mold-01


    As you can see, it's an insulted tube that holds a circular ice ball mold inside of it, along with extra space below the ice ball.

    The important thing to note is that the ball mold is perforated. This allows any air and impurities in the water to get pushed out of it, towards the bottom of the mold, as it freezes. In other posts here on Alcademics, we've discussed that's how you'd need to build the mold in order for it to work. 


    Ice_mold-04


    It only makes one at a time, but it's pretty cool. The only not cool thing about is is the price: It's for sale at $97.60 each! 

    I still kinda want one. 

    An index of all of the ice experiments on Alcademics can be found here


  • Fortune Ice: Like A Fortune Cookie But With Ice

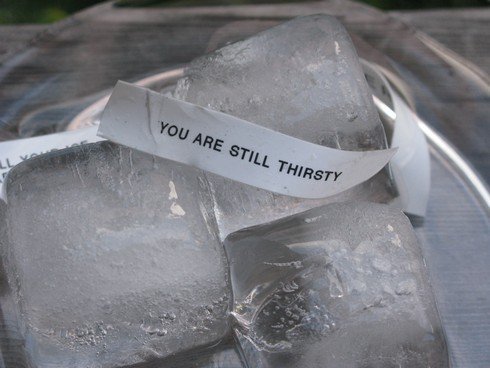
    In my latest set of fun experiments with ice, I created fortune ice.  

    Second set_tn

    I'd been meaning to do this for a while, but two things made it actually happen. First, I bought a Tovolo King Cube Ice Cube Tray to make 2-inch cubes. Second, I realized I could use my Label Maker for the fortunes. 

    Still thirsty_tn

    I was thinking that I would have to make fortunes then laminate them, but the label maker spits out labels that are plasticy on both sides. 

    This is one case where I didn't want perfectly clear ice (learn how to make clear ice here) because then you could read the fortunes in the cubes before they melted. 

    It turns out that the cloudiness in water does well to hide the paper in ice. 

    Outdoors1_tn

    Drink close_tn

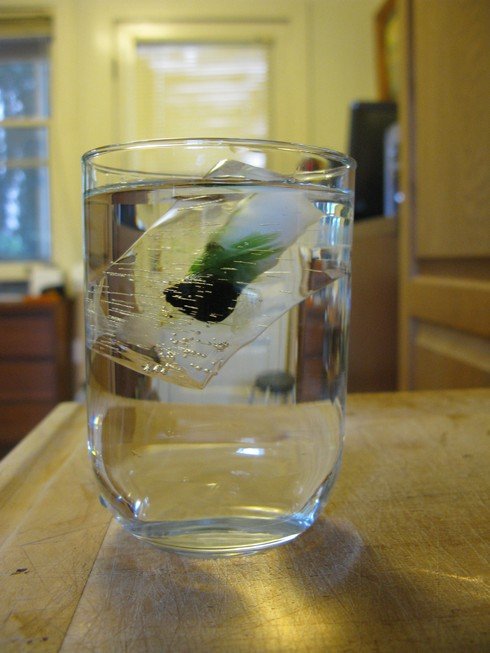
    I froze the cubes with the fortunes inside, then let them thaw out. When some of the fortune was sticking out from the cube, I could pull it from the end and they slid out: No need to wait until the whole thing melted. 

    Melt2_tn
    No free refills_tn

    I wanted to make sure the paper didn't disintegrate in water, so I left a few fortunes in a glass of water overnight and they showed no signs of deterioration. However I should try this again with alcohol.

    Drink1_tn

    So, that was fun!

    Possible uses for fortune ice could include: 

    • Fortunes, just like fortune cookies.
    • Giveaways/prizes. One fortune contains a coupon for a free drink, door prize, etc. 
    • Cocktail recipes for the drink that you're drinking. 
    • Advertising. "Next time make this drink with our brand of whisky!"
    • The bartender's phone number. "Call me, hot stuff."

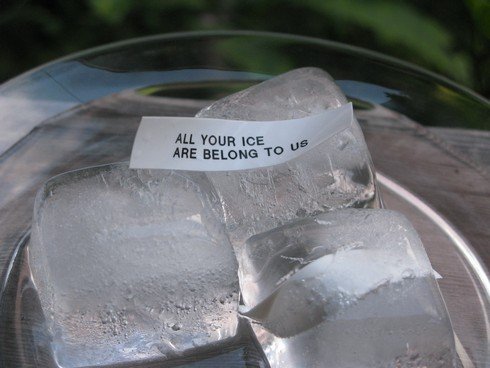
    All your ice_tn

     
    An index of all of the ice experiments on Alcademics can be found here.

  • More Fun with Ice: The Time Bomb

    The fun with ice continues! In ongoing experiments freezing things in ice, I decided to try freezing food coloring in the middle of an ice cube. Then when the ice melts, the coloring will release and change the drink. 
    Ice in glass_tn
    Click on the link below to see how I did it and what happened. 

    (more…)