Tag: ice experiments

  • Percent Cloudiness in Top Frozen Block Ice

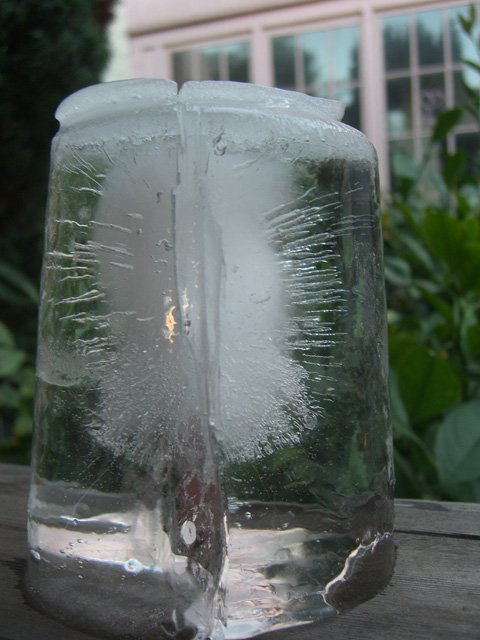
    I'm somewhere along the process of creating an ice cube tray that takes advantage of the top frozen ice that I make in an Igloo cooler. As the cooler lid is off when I freeze water in it, the water freezes from the top down like a pond in winter. The cloudy part of the ice (where air an impurities migrate as the water freezes) are only in the bottom of the block.  

    In the below picture the block has been turned upside-down after removing it from the cooler. 
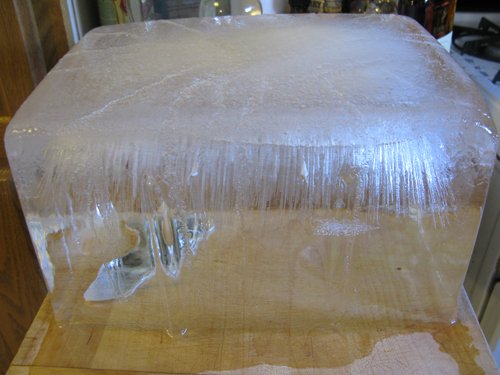
    Top view not all super cloudys
     Most of the time when making ice for myself at home, I leave the cooler in my freezer for a couple of days then dump out the ice before the bottom portion starts to freeze and get cloudy- that way the entire block of ice is clear and I don't have to cut any of it off.

    In a recent set of experiments, I wanted to see what percent of the block of ice was cloudy if I let the block freeze entirely. So far I've done three measurements. 
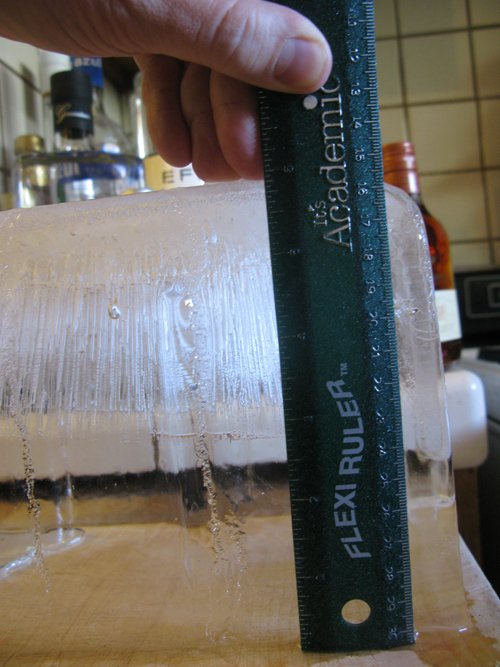
    Three out of six partial cloudy one inch totess
    As you can sorta see, a portion of the ice has bubbly streaks in it but is mostly clear, then there is an all-cloudy last bit. 

    Trial One:

    Total height = 3.75 inches
    Somewhat cloudy  =  last two inches
    Very cloudy, unusable = last 1/2 inch
    Percent unusable cloudiness = 13%

    Trial Two:

    Total height = 6 inches
    Somewhat cloudy  =  last three inches
    Very cloudy, unusable = last 1 inch
    Percent unusable cloudiness = 17%

    Trial One:

    Total height = 6 inches
    Somewhat cloudy  =  last two inches
    Very cloudy, unusable = last 1 1/2 inch
    Percent unusable cloudiness = 25%
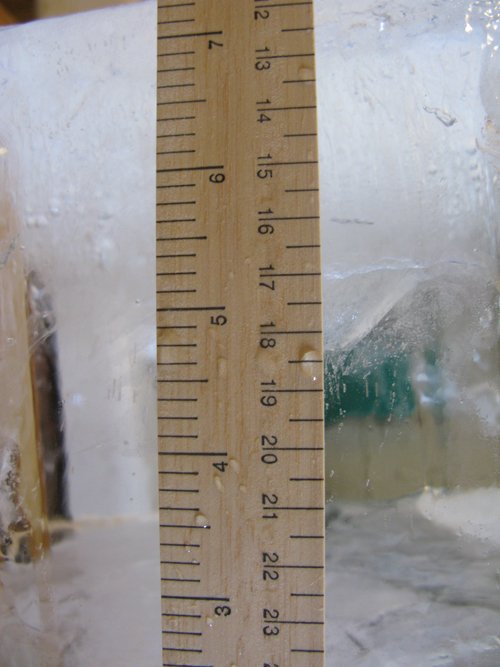
    Ruler2s
    So we're looking at an average of 18% of the ice is too cloudy to use in a cooler of this shape and size. 

    Why might this information matter? If I develop an ice cube tray that fit into this cooler I would want to be able to remove the last cloudy bit so that it wouldn't get into the ice. I wanted to know about how much waste we're looking at. 

    But one thing I'm learning with repeated experiments is that by freezing from the top down the water expands and puts a lot of pressure on the bottom of the cooler. (Think of how a plastic bottle will bulge when put in the freezer.) With repeated experiments that cooler is starting to warp on the bottom, plumping out in the center. A better freezing vessel would be flexible on the bottom. 

    To see all of my ice experiments use this link.
  • Clear Ice Blocks from the Fridge

    In my ongoing experiments trying to make clear ice in the refrigerator, I first tried:

    And had success with:

    Then theorized about the pond method.

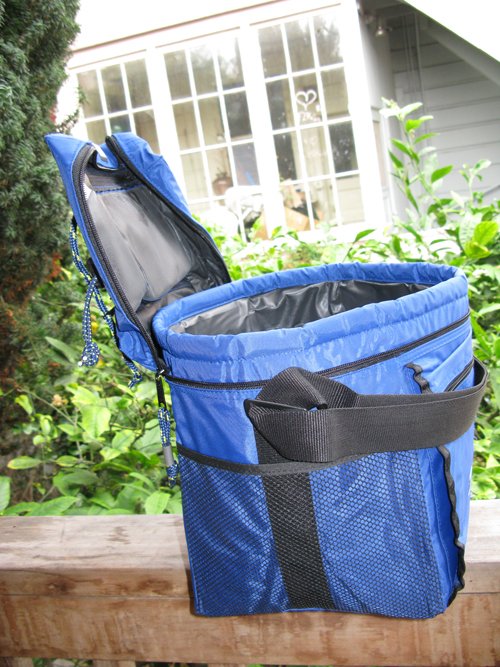
    The next step was testing this pond method (trying to freeze ice from the top-down rather than outside-in). To do this, I needed an insulated container on all sides except for the top. My first attempt was with a collapsible beer cooler:

    Cooler1s

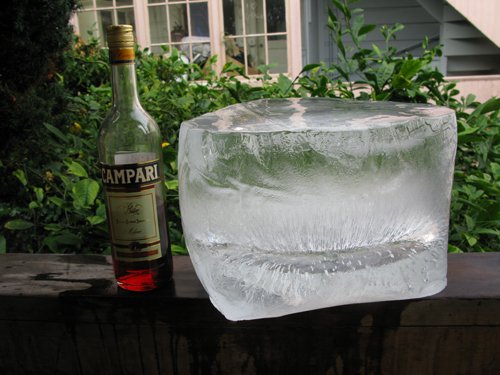
    I filled it with plain tap water and let it freeze for three or four days. The container expanded as it froze so the ice was rather difficult to remove. At the end, the block still didn't completely freeze, but as we've learned in earlier experiments the last parts to freeze are where the ice gets the cloudiest. It was also cloudy toward the center but I think that's because I gave the cooler a squeeze in the fridge before it was frozen.

    Iceandcamparis

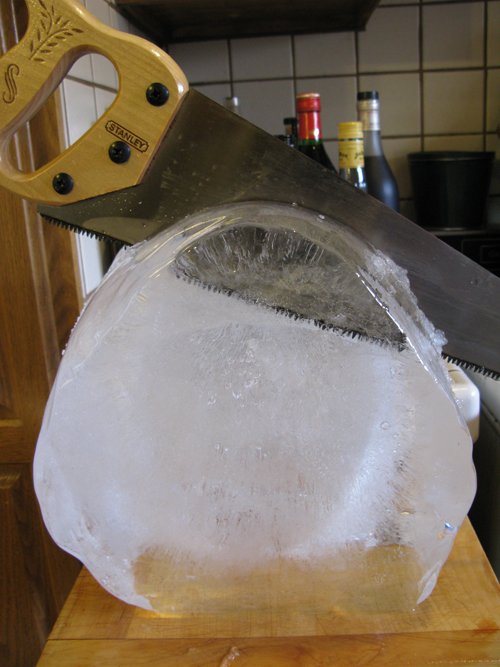
    The next task was to cut off the cloudy parts so that only the clear ice remained. The first time I did this with a saw. This took a long time and as I learned later was probably not necessary.

    Saw in ices

    But it worked!

    Block1s

    Part Two: Just a Bit Off the Top

    Since I wasted so much of this large block I wanted to try a simpler method: Freezing it from the top down and trying to just pop off the top.

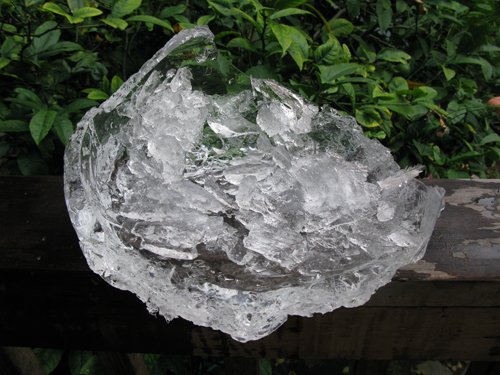
    Once again I filled the cooler with water and froze it, for just a couple of days this time. When I pulled it out of the freezer the water had mostly froze from the top down, though there was a light shell of ice around the shape of the cooler. Thus to get the ice out, I smashed in the sides of the cooler and pulled off the top. It was a bit easier than the entire block to remove from the cooler, but not easy per se.

    Smashed ice1s

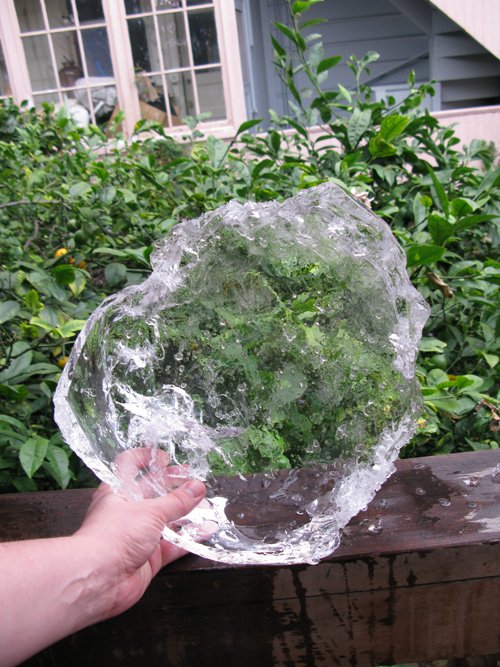
    This slab was about four inches thick and wonderfully clear. 

    Top frozen onlys

    The next trick would be trying to cut it down into smaller cubes. More on than in the next post.

    Conclusions: 

    1. To make a big slab of clear ice, start with an even bigger slab of ice and cut off the rest. At least for San Francisco water, the shape of the container matters more than anything else- boiling, filtered, or distilled water.
    2. My collapsible cooler isn't heavily insulated, so the water does partially freeze from the bottom and sides and a better insulator would be ideal.  

    To do:

    1. Find a better insulated container to maximize the "pond effect" so that water only freezes from the top down.
    2. Figure out how to efficiently cut the ice into big cubes.

    An index of ice experiments on Alcademics can be found here.

  • Clear Ice and Container Shape

    Today is Ice Day on Alcademics, so stay tuned for more exciting coverage of my ongoing experiments to make clear ice in my home freezer.

    So far, I've tried:

    So far I haven't achieved… anything, but I'm gathering information that should help in the future. In recent experiments, I found that ice freezes from the outside in, which is sort of obvious, but it's important because that's where all the air is trapped that makes the majority of cloudiness in ice. So I wanted to try some different container shapes to test how and where the air bubble forms. 

    In a vertical container, such as these Vietnamese take-out soup containers I've been using, the air bubble forms toward the middle-bottom. (I've set the ice upside-down in this picture.)

    Vertical1s

    Whereas in a flat horizontal container such as a lasagna tray, the air bubble forms in a layer across the bottom of the pan.

    Icepan1s

    The experiment continues after the jump.

    (more…)