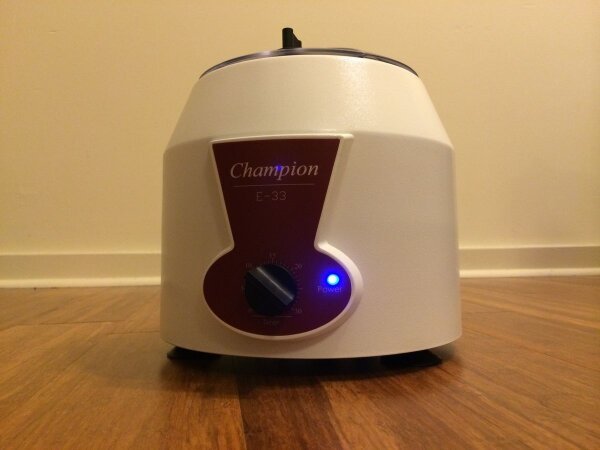
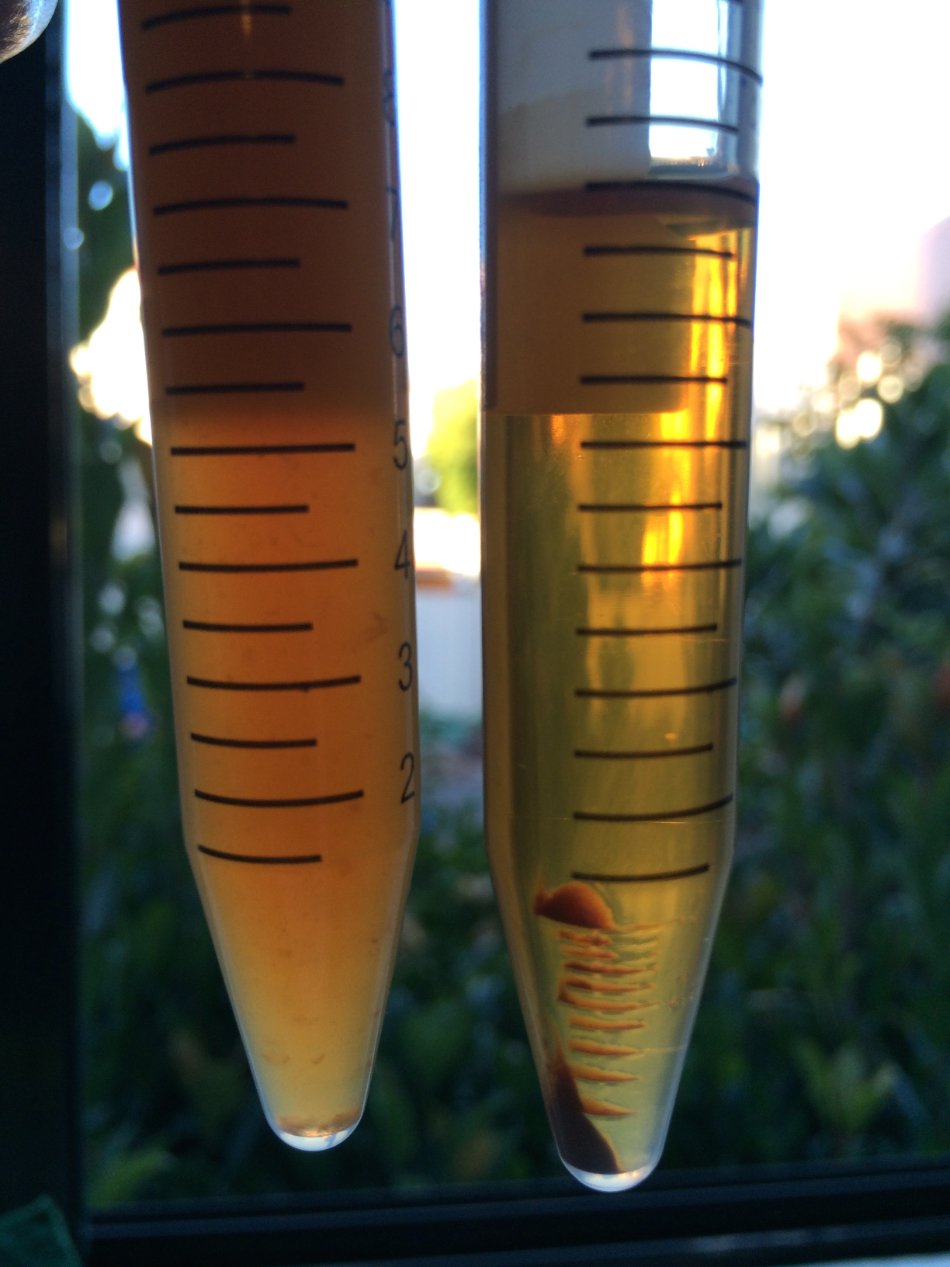
These are the ice tools that I have used and recommend. Most of these products are used/shown in The Ice Book. Most of these links go to Amazon.
If you're coming to this page fresh, you'll want to check out the Index of Ice Experiments here on Alcademics.
Clear Ice Cube Trays
- Spheres: For spheres, I like the Dexas Iceology tray or the Simpletaste tray that's a little larger.
- Cubes – Smallest Footprint: The Dexas square 2-inch cube trays are also excellent.
- Best Bargain: The Clearly Frozen tray gives you a lot of bang for your buck. Now it comes with inserts so you can make 2" cubes, smaller 1.3" cubes, or tall spears for highballs.
- Heavy Duty: The Ghost Ice Compact System. It's super heavy duty and makes 12 cubes at a time.
Ice Picks
- Three-Prong: Most of the time I just use a 3-pronged ice pick for cutting up blocks of ice. Several manufacturers make the same model. I have one by Fortune Candy.
- Cheap: Three-pronged pick.
- Single-Prong: I rarely use a single-prong ice pick, favoring the three-prong one in nearly all situations. I do have the Anvil Ice Pick and it's well-made.
DIY Ice Cube Trays using this method
- I found that this tiny cooler fits a 2.5 inch ice cube mold perfectly!
- Ice cube trays – Any of the large 2-inch silicone ones from Tovolo, CocktailKingdom, etc.
- Drip Irrigation Standard Tubing Hole Punch pokes small holes, but you can also use a metal straw or piece of metal tubing to poke nice round holes in ice cube trays.
Cooler to Make Clear Ice
- I use a small cooler – about 12-pack size- nearly every day. The Igloo Legend 6 is about that size.
Clear Ice Balls, Death Stars, Skulls Using a Thermos
- Thermos: As I wrote about here, I typically make ice balls using a Thermos Funtainer and 2.5" ice ball molds. Since then I have favored a Yeti tumbler, particularly for the Death Star molds.
- 2.5" Ice Ball Molds: Here is one that looks like what I buy but these links tent to change. Just be sure to buy 2.5" ones that are separate rather than stuck together in a 4-pack.
- Death Star Ice Mold
- Skull Ice Molds
Small Ice Balls
- In this post, I showed off some fun colored ice balls using this tray and this tray. They are not clear but very cute.
Patterned Ice
- Make patterns on ice with the Ice Designer
- Meat tenderizer
- Cookie stamps
- Wax seal stamps
Knives, Chisels, etc.
- Watermelon Knife: Weirdly these are great for cutting up ice blocks, along with a wooden mallet.
- 42mm Wood Chisel: Great for cutting ice diamonds
- Paring knives: Use what you have if it's sharp. I've used this cheap set.
Misc Ice Tools
- Polishing cloths: These are good for holding ice while you cut ice diamonds or spheres; they don't stick to the ice nearly as much as typical kitchen towels.
- Cut-Resistant Gloves: I don't use these at home in favor of the polishing cloth, but for my ice classes my students wear them. These are cheap ones that probably don't offer much protection.
- Ice Ball Press: Makes 55mm ice spheres (a little small) from a cubes.
For Larger Programs – Bars and Events
- The Ghost Ice Tray makes 48 2-3-inch cubes in about 2 days, and new inserts make Collins spears and there are sphere trays on the way.

