Category: experiments

  • An Attempt at Recreating the Canned Water Method for Clear Ice

    A couple weeks back I reported on the work of Richard Newell, who sealed boiling water in mason jars in a canning system and found that it made great ice with few bubbles in a directional freezing system

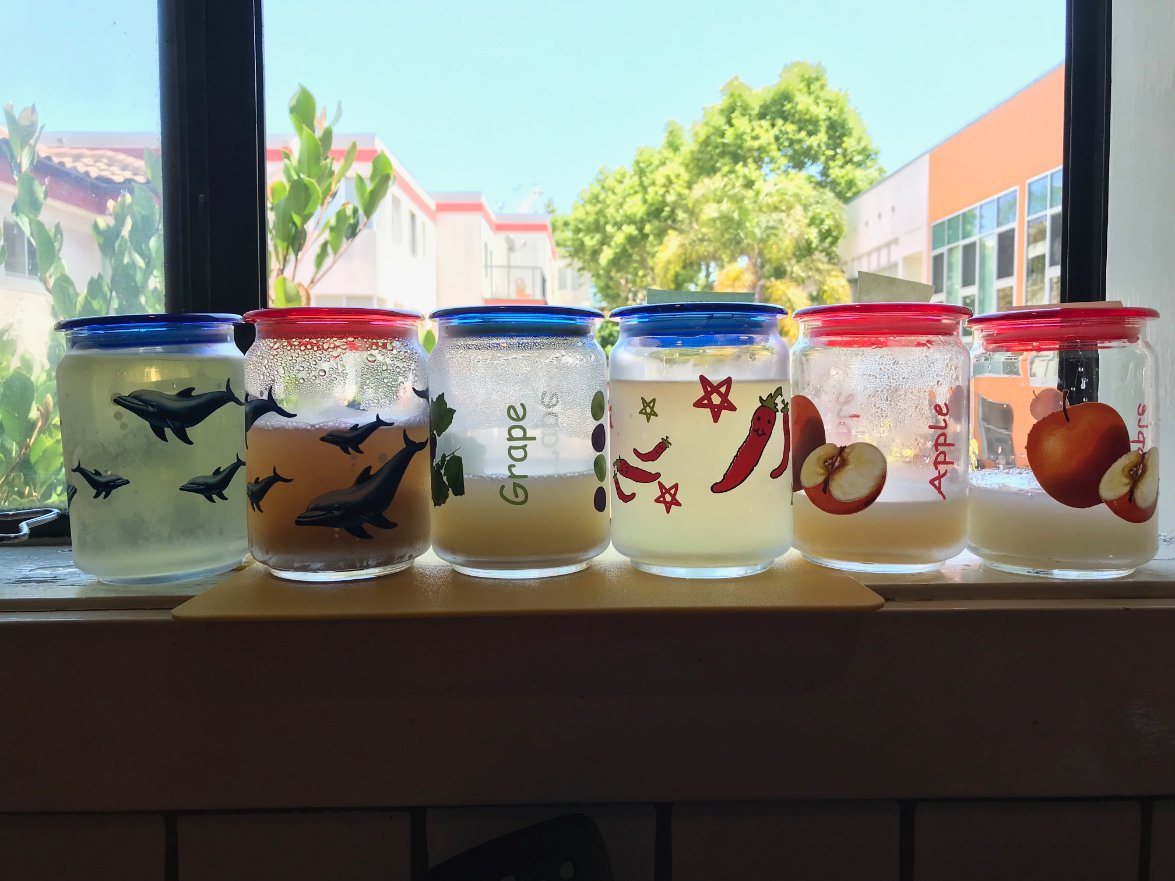
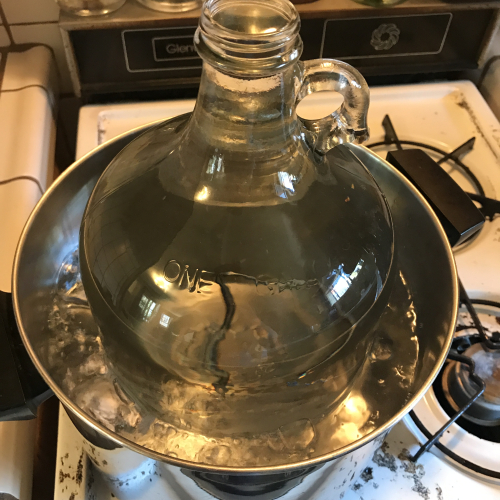
    I don't have a canning system but I thought I'd give it a try with what I had around the house. It turns out I had a big jug, so I used that as my mason jar. 

    I boiled water for quite a while inside the jar inside a pot, and then went to screw on the cap of the jug – only to find that I didn't have a cap that fits the jug :( 

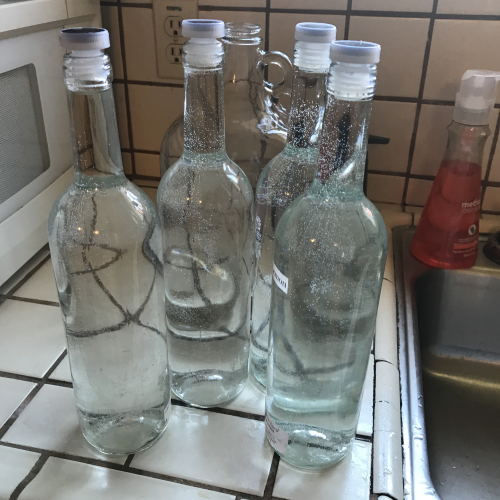
    IMG-8994

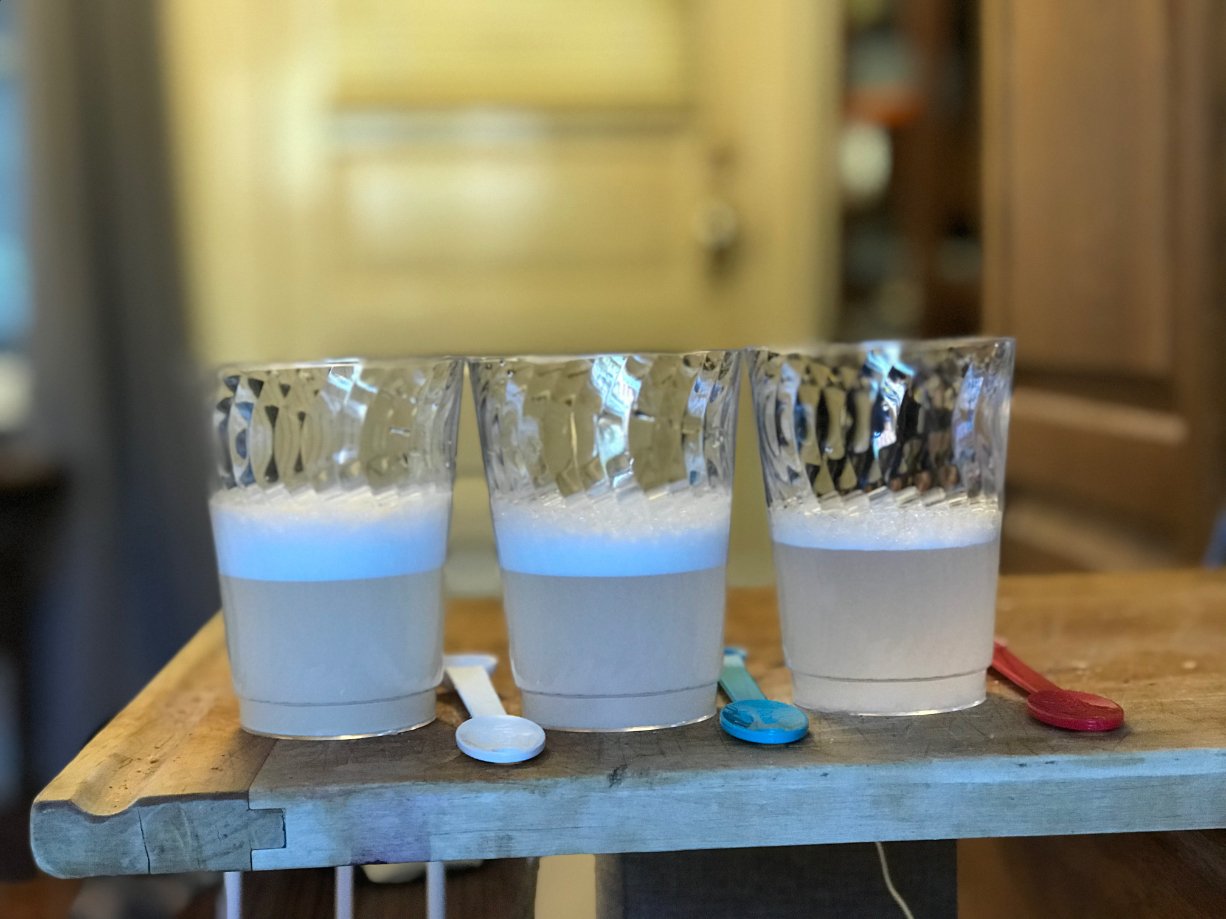
    So instead I transferred it to glass bottles for which I have plastic corks. As you can see, I filled these up all the way to the top before capping them. 

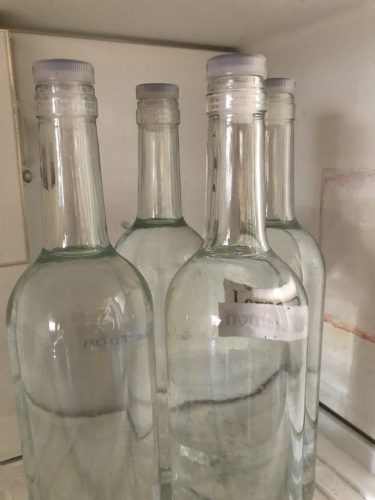
    IMG-8997


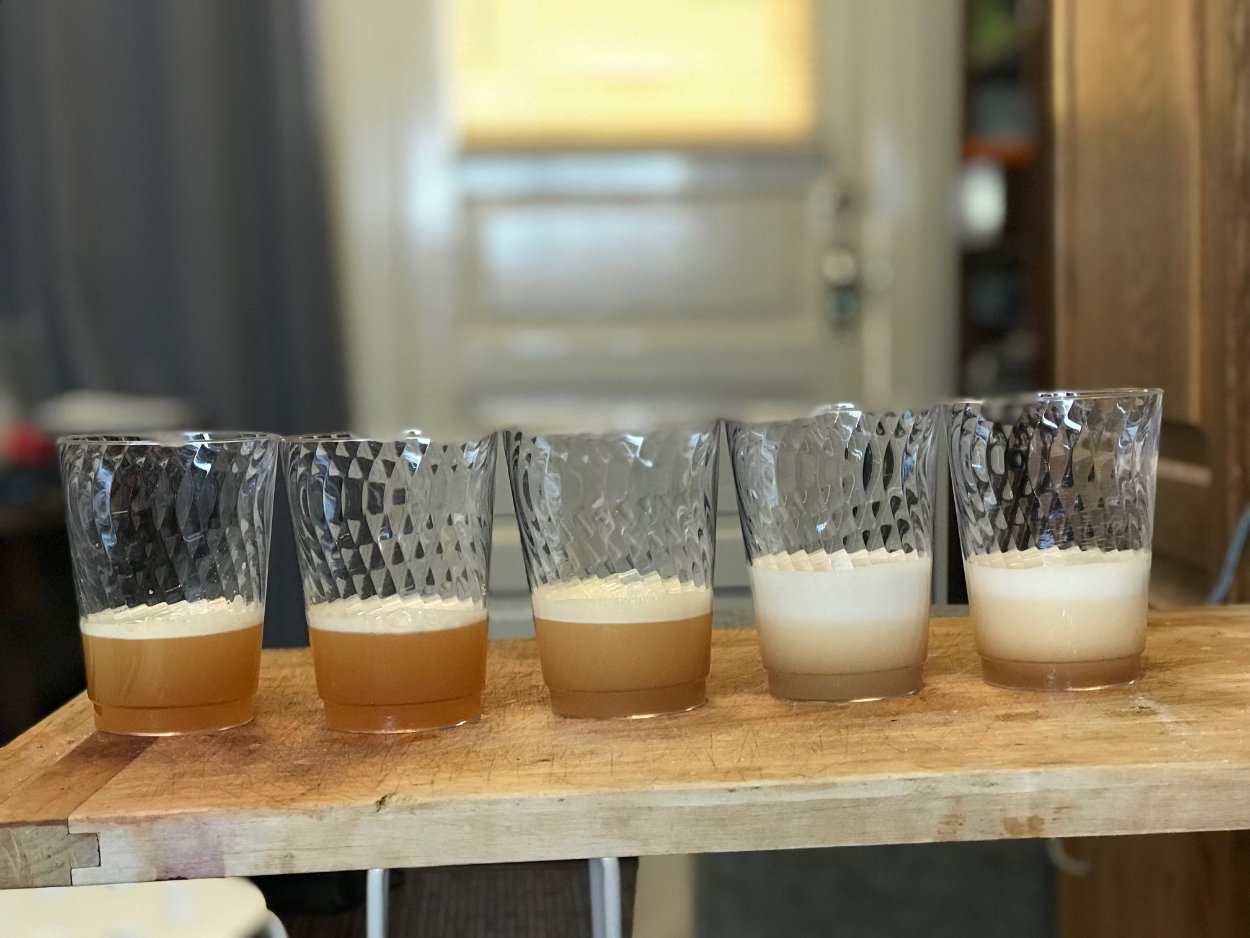
    I put the glass bottles in the freezer to cool down before transferring them to my cooler for directional freezing. As you can see, after chilling there is a lot more space in the bottle. 

    IMG-9003


    We know that hot water holds less air than cold water, so was this extra headspace the water reabsorbing air (meaning my corks weren't airtight) or that it pulled a vacuum as the water cooled? I'm not sure. 

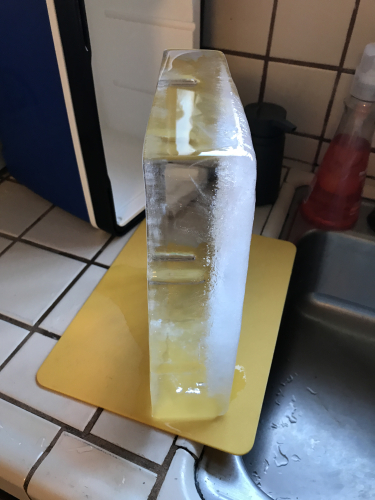
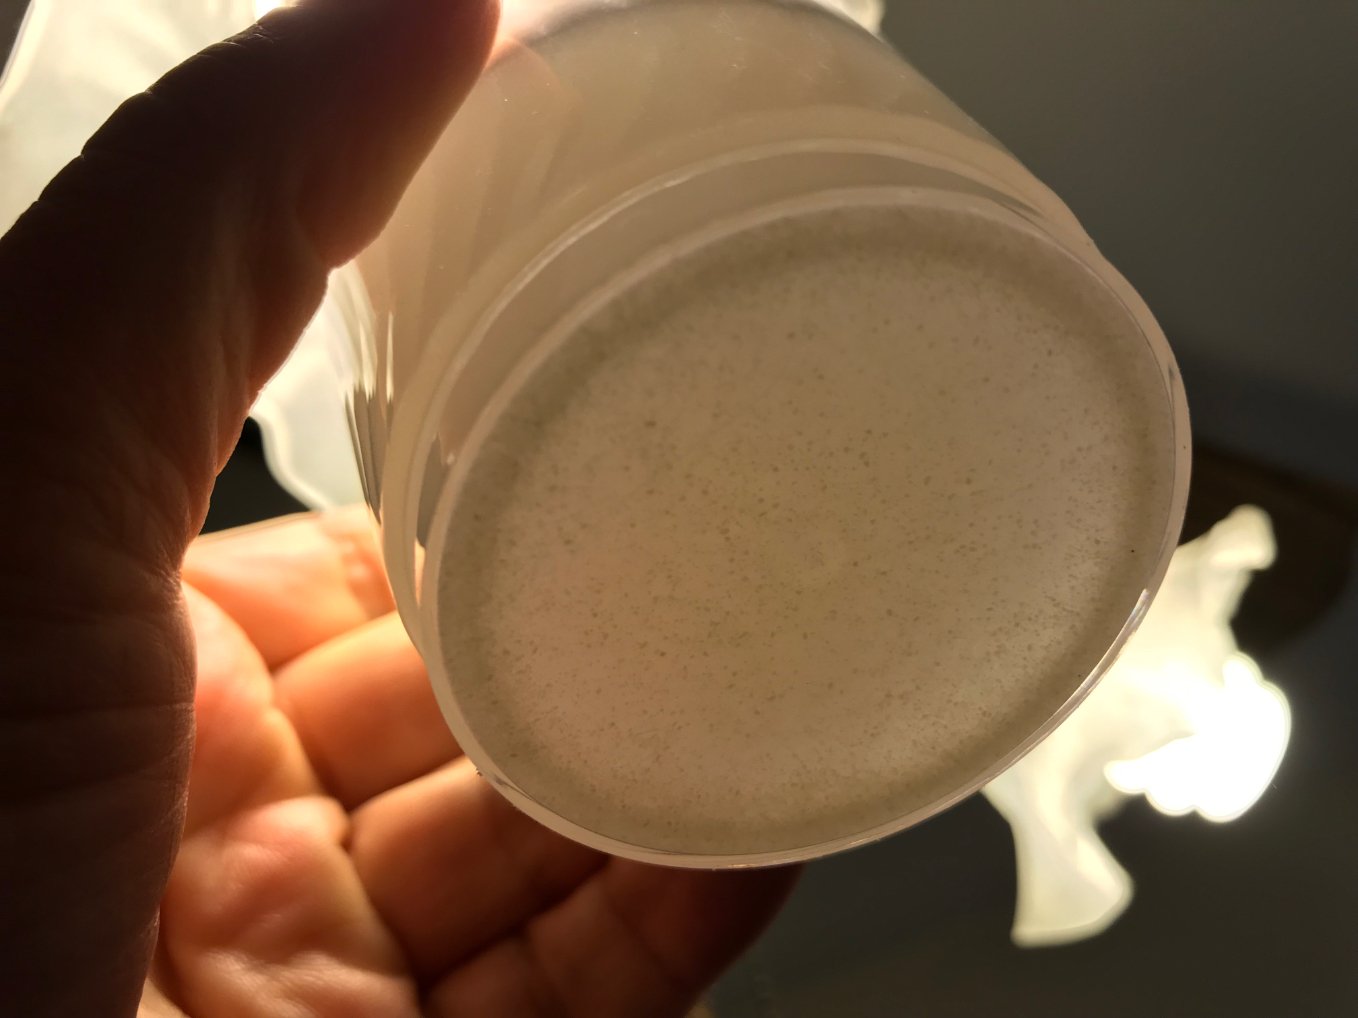
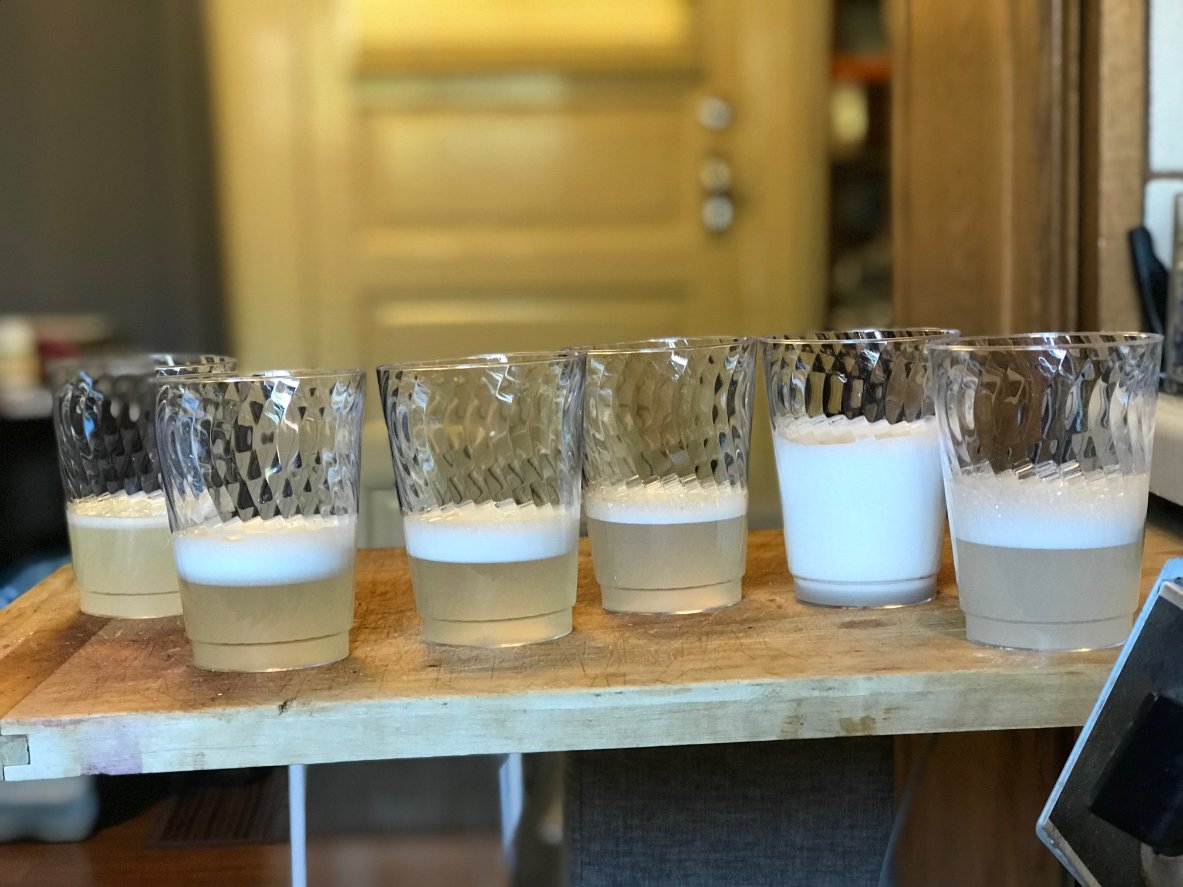
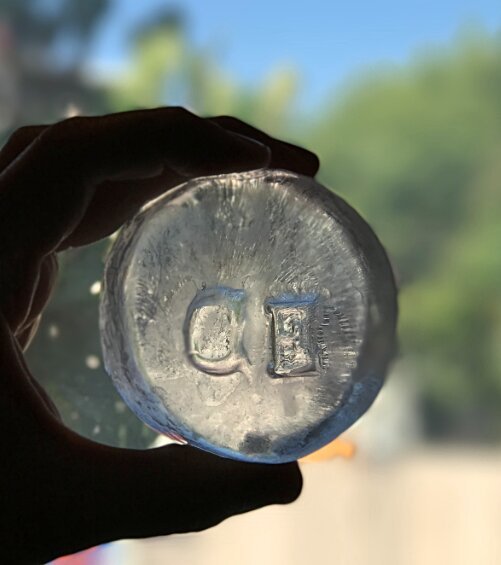
    I poured the bottles into the cooler and froze it. Unfortunately, it did not appear that using boiled water "sealed" in bottles made for clearer ice than usual via directional freezing. It looks to be about 25% cloudy ice, which is normal.

    I might have to try actual mason jars and seal them as Newell did initially to know if sealing up boiled water improves clarity in ice. 

    IMG-9009


    The index of ice experiments page on Alcademics is here.

  • Extracting Natural Color from Plants: The Freeze-Thaw Method

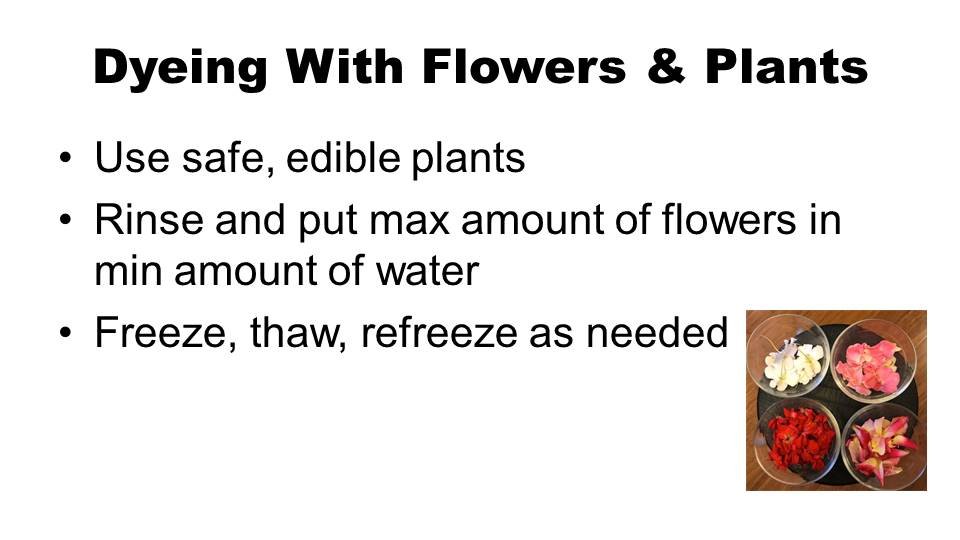
    In advance of my seminar at Tales of the Cocktail on Color in Cocktails and Spirits, I am putting up a few blog posts that the attendees (and you know, you) can use as reference. The images below are exported PowerPoint slides. 

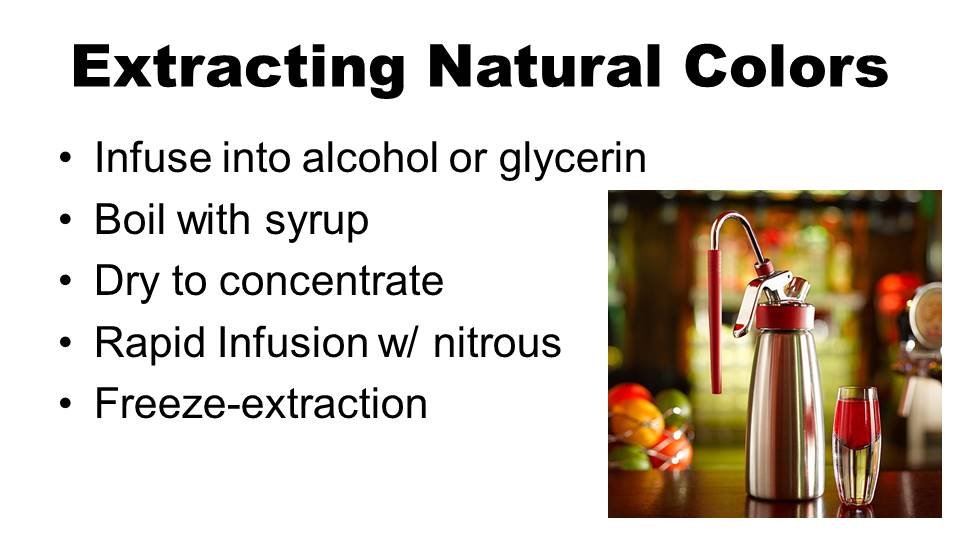
    I was trying to create some natural colors from plants and read about how dyers do it. Many of them are not practical (or safe) for food and beverage use. Some ways to extract color that are safe include: 

    Slide123


    But one method I read about suggested freezing flower petals overnight, then thawing in hot water. This actually didn't work for me, but it gave me the idea for how to do it similarly. 

    The idea is that freezing plants breaks the cell structure and allows the natural colors to release when you add water. So what I did on my second attempt was to freeze the flower petals in water, then let it thaw out and strain out the solids. 

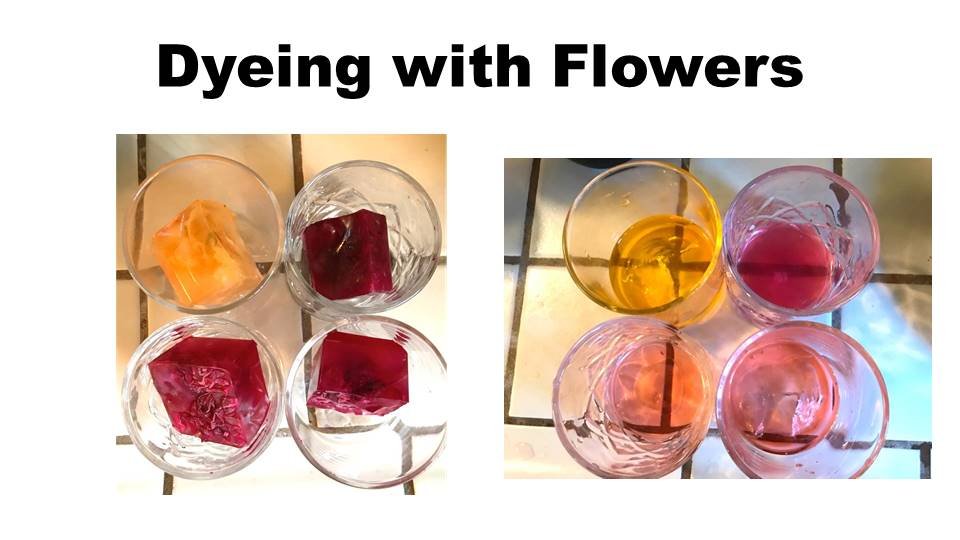
    This worked much better for me, and then I decided to repeat the process (not with new petals but just freezing and thawing the same ice cubes three times). Each time the color of the water became more intense. It worked! 

    Slide123

    With any flowers in particular or plants in general picked from nature (as opposed to the produce section), make sure that they're safe and edible. A great resource for that is CocktailSafe.org

    Slide123

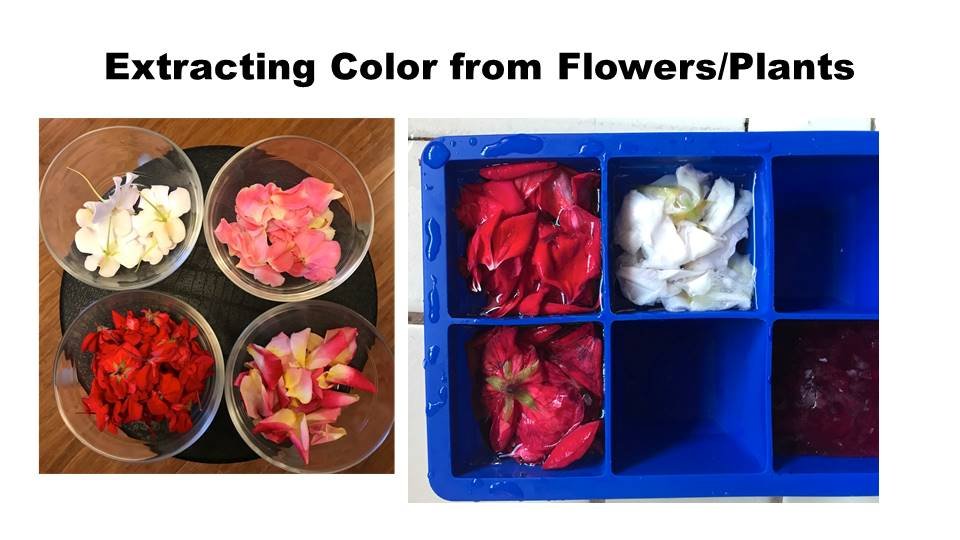
    Above are the flower petals I harvested from my patio. I put them in 2' ice cube trays with some water. 

    Slide123As you can see, the colors came out lovely. 

    The idea is that you could now use this water as a base for a simple syrup, soda, or ice cube with the natural color in it. 

    Though I haven't experimented with other plants yet, I bet this technique would work great for many things. 


  • Aquafaba Future Experiments and Suggestions

    This week we've been learning about how to prepare aquafaba – chickpea or garbanzo bean water – to replace egg white as a frother in cocktails. The previous posts have been:


    712HMjfNlaL._SL1500_Along the way I've heard a few good ideas and suggestions that I have not yet tried. These all sound like great ideas and I love that they come from three different countries. 

    So far I haven't come up with a "best" way to make aquafaba, largely because I'm just trying small experiments at home rather than working in a bar with high volume. Hopefully these posts will inspire some folks to keep on trying and sharing their experiments too. 


    Frozen 'Faba

    Forest Collins of 52Martinis.com in Paris says, "I've recently tried freezing my chickpea water in 10ml batches and then pulling it out of the freezer when needed. It seemed to work well in the freezer, although I didn't do a comparison and only tried it in a blended pisco sour, but there was still a lot of froth on it." 


    Density Check for Consistency

    Daniel Seehuusen, Bar Manager at Avalon Hotel in Gothenburg, Sweden, says (edited for clarity): 

    I used to work with this a lot a while ago. Since we got our aquafaba from the kitchen it never was the same consistency.  So we used a oechsle meter, I think the sweet spot was around 35-37 OE (or was it 45….). [Note: an oechsle meter is analogous to a refractometer for measuring brix]

    I think that the most bang for the buck would be boiling the peas 2 times. Combine the liquids and dilute/reduce to the oechsle of your choice. We had it in a bottle, on ice. I think we used around 20 ml per cocktail.


    61Zzbmzh1+L._SL1000_Pressure Cooker

    Andrew Nicholls, co-founder of William George Rum from The Netherlands, says,  "I make an aquafaba by rehydrating chickpeas and placing one cup of the rehydrated chickpeas in a pressure cooker with three cups of water. Bring up to pressure and cook for 40 minutes.  The pressure helps “extract” more of the proteins/globulins, which makes for a more stable foam than canned chickpeas (in my opinion).


  • Aquafaba Experiments Round 3

    In previous experiments with aquafaba to replace egg white for froth in cocktails:

    I tried chickpea/garbanzo bean water from canned beans, from uncooked and cooked beans, and from chickpea flour both cooked and uncooked. 

    I found in those experiments that canned water was best for the amount and quality of froth produced, followed by uncooked flour water, followed closely by boiled bean water.

    Though I didn't love the taste of unboiled garbanzo bean flour water, I decided to try garbanzo bean flour as a solid – by adding the flour directly to the drink before shaking. 

    I tried 1/4 teaspoon chickpea flour, 1/8 tsp, amd 1/16 tsp.

    IMG_5583

    I found that 1/16th wasn't quite enough, but 1/8 teaspoon seemed to work just fine. (note this experiment was with vodka and water plus the flour) 

    One issue with using the flour (rather than water with flour in it that's left to settle as in previous experiments) is that it settles out relatively quickly to the bottom of the glass. That's why I wanted to minimize the amount in the first place. 


    IMG_5586

    A second issue is the flavor: though not incredibly powerful, there are notes of raw flour and a slight tannic or metallic flavor. 

    On the plus side, if only occasionally using an egg white replacement in cocktails, chickpea flour is shelf stable compared with liquid. It might be worth testing to see if the flavor of the uncooked flour and the settling is tolerable. 

    However if you're hoping to use aquafaba more often or switch to an egg white alternative permanently, I would think you'd want something that doesn't settle in the glass and has less of a flavor impact. For that, I would return to the posts with the technique by Hannes Schmitt or Aquafaba Experiments Round 1 to see a few options. 


  • Aquafaba Experiments Round 2

    In my previous post I tried some ways to see what preparation method makes the best aquafaba: chickpea/garbanzo bean water used in place of egg whites to make cocktails frothy. 

    To recap, I found the best aquafaba waters were, in order: 

    1. From the can
    2. Chickpea flour boiled then letting the solids settle off.
    3. Cooking water for chickpeas.

    In the next set of experiments I wanted to see if I could produce more water in cooking and see if I could use unboiled chickpea flour. So my aquafabas were:

    1. Quick-Soaked Beans Cooked for 90 Minutes in Lots of Water: I did the quick soak method this time: I brought the beans to a boil for 3 minutes, then let them soak for 2 hours before discarding the water. This water had only a slight flour aroma. 
    2. Quick-Soaked Beans Cooked for 3 Hours in Lots of Water. This had a touch of flour aroma. 
    3. Boiled Chickpea Flour Water: The same sample from the previous experiment. Its aroma was kind of like flour. 
    4. Unboiled Chickpea Flour Water: I shook some chickpea flour with water in a jar then let it settle overnight. I used only the lightest of this water to minimize solids. It had a fairly yucky "raw" flour aroma. 
    5. Second Cook Water, from previous experiment: After cooking beans, I reboiled half of them for an additional 30 minutes and kept this water.

    For the experiments, I used a Disaronno Sour (2 parts Disaronno to 1 part lemon juice), plus 1/2 ounce aquafaba.  

    Aquafaba foam experiments round two (2)

    The winners were:

    • #4 Unboiled Chickpea Flour Water. The downside to this is that it has the most flavor – I consider it tannic but others might say metallic; plus it's greyish in color compared with the brownish ones. 
    • #5 Second Cook Water, which was sort of the control. It tasted better than the winner. 
    • #3 Boiled Chickpea Flour Water. This also tasted fine/neutral. 
    • Then 1-2, the chickpea water made from long boils with lots of water, didn't produce enough foam to count. 

    Conclusions

    1. My experiments in boiling less beans for a long period of time failed. 
    2. Boiled chickpea flour tastes better than unboiled, plus it looks better in the glass. It's not quite as foamy but may be worth the tradeoff. 
    3. Regular chickpea cooking water is still pretty decent. It would be worth looking at the costs between using dried chickpeas vs the flour. 

    Future Experiments:

    If this chickpea flour is working so well, maybe I should try using the smallest scoop possible I can of it. I did try this previously and found that the solids were too problematic, but it's worth another shot. 

    I've now tried it and here is the post!


  • Aquafaba Experiments Round 1

    After reading the detailed description of making the best aquafaba by Hannes Schmitt from Electric Eel on yesterday's post, I decided I wanted to try some experiments myself to see what makes the best, frothiest, least expensive, least smelly chick pea/garbanzo bean water frother. 

    Schmitt's method is to hydrate the chickpeas (discarding the water), then cook them (saving the water), then soak them again (keeping the water). You combine the water from the cooking and the soaking together. After my experiments, that looks to be a very good method. 

    In the first round of experiments I prepared 6 types of chick pea water and made the same drink with all of them:

    1. Chickpea Soaking Water: The water used to hydrate dried chickpeas. This was light in color. 
    2. Cooking Water: The water used to boil chickpeas (about 90 minutes, probably too long). The resulting water the next day was super gloppy, nearly gelatinous. In the future I would boil the beans for less time.
    3. Second Cook Water: After cooking the beans, I boiled half of them for an additional 30 minutes and kept this water. This water was also gelatinous the next morning. 
    4. Post-Cook Soak Water: The other half of the beans after cooking I left to soak with water overnight. This water was lighter in color, with more of a fresh bean aroma than cooked.
    5. Canned Chickpea Water (unsalted! make sure to buy unsalted): Traditional aquafaba from the can. Note that I had opened the can previously and transferred the water to another container. It seems to have lost most of the initial farty smell and smelled more like the flour. 
    6. Boiled Chickpea Flour Water: I have some chickpea flour, which makes great froth if you add a small scoop in a cocktail, but all the solids settle out. By boiling the chickpea flour I was trying to isolate whatever it is in chickpeas that makes good foam. After boiling for about half an hour or so, I placed the water in a tall jug then the next morning poured off the top portion with less solids evident. It had a touch of bean smell but nothing dramatic. 

    I then made drinks with all these waters: 1 ounce vodka, 1/2 oz simple syrup, 1/2 ounce lemon juice, 1 ounce water (to mimic ice), and 1/2 ounce aquafaba. 

    In the first picture below, you can tell the relative colors of the bean waters. The cooking water was darkest, while the flour water was milky. 

    Aquafaba foam experiments round one (1)

    After shaking in a cocktail. (Number 5 had been freshly reshaken as I spilled some so it's a little more dramatic than in real life.) Note that the flour water #6 on the right has a greyish tint. 

    Aquafaba foam experiments round one (1)

    Results:

    • #5 Canned Chickpea Water was the best, densest foam, by a lot. Note that in other experiments I determined the way to minimize the funky bean smell is to use as little of this as possible. I found that 1/2 teaspoon/barspoon is enough.
    • #6 Boiled Chickpea Flour Water was second best. It had the airiest foam.
    • #2  Cooking Water. This one had some smell but not too intense. 
    • Then #3 Second cook water, #4 Post-Cook Rinse water
    • Then #1 the Soaking Water didn't do much at all. 

    It seems that Schmitt's method of adding #2 to #4 (cooking water to post-cook soaking water) would combine some very thick water with a lighter one that still has some foaming action to minimize color and aroma. 

    The second boil water did produce nice foam, though the beans were probably ruined for anything but hummus after that point. But it did make me think about boiling beans for a super long time with more water to see if that would effectively give us more bang for the buck. 

    This inspired another round of experiments for the next day (and next blog post): Comparing boiled flour vs unboiled, and seeing if I could boil a small amount of rehydrated chickpeas for a long time to get a good aquafaba.  

    Next Up: Aquafaba Experiments Round 2

    and then Aquafaba Experiments Round 3 


  • Boiled Versus Rested Water Clarity with Directional Freezing: A Comparison

    The main water factors that affect ice clarity in an ideal environment:

    • Gasses in water
    • Minerals/other impurities in water

    Factors of the freezing environment that also impact clarity:

    • Rate of freezing (warmer temperatures better)
    • Shape of container, which impacts whether the last part to freeze will crack the ice (as it does in a typical ice cube tray)
    • Jostling/moving of the cooler in a home directional freezing system (cooler with the top off) as this causes bubbles to form earlier

    I've been studying each of these factors carefully, as I may be contributing a section on the science of ice to the Oxford Companion to Cocktails and Spirits (which hasn't been edited/approved yet, and isn't due out for a while so don't get too excited). 

    One factor that has always confounded me is the gasses in water. We know from observation that gas in water becomes trapped in ice in the form of bubbles, whether that's in the center of an ice cube or the bottom of the block using a cooler in the freezer.

    Most kitchen sinks have aerators on them that add more air to water, so that's a factor. But there are also lots of theories (boiling water, freezing then melting then refreezing) that are meant to minimize the air in water. 

    My issue has always been: If trapped air in water is water's natural state, then if you boil the water to eliminate that air, wouldn't air just be re-absorbed into the water when it returns to room temperature?

    Dave Arnold in Liquid Intelligence asserts that you should boil the water, put it in your cooler, let it cool a bit, and then put it in the freezer. I was doubtful that this actually helps, but Dave Arnold is usually right, so I finally decided to test this.

    Click on the image below to expand it greatly. 
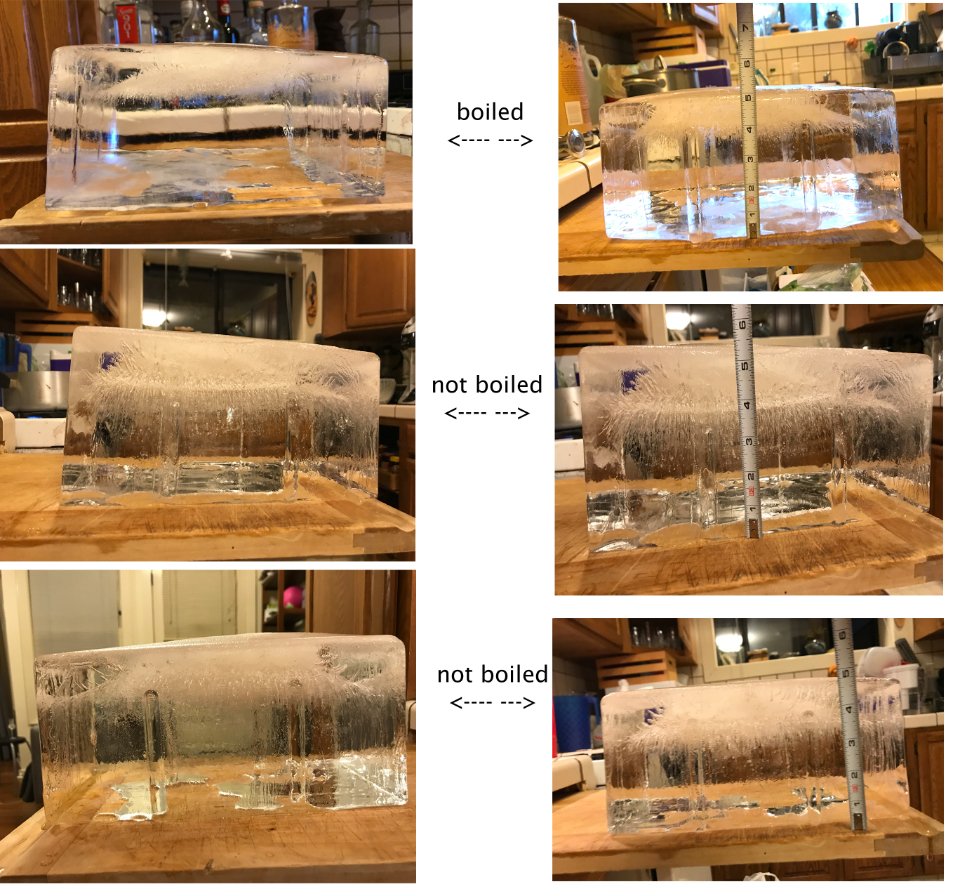
     

    Boiled vs unboiled water ice blocks

    Experiment

    For the first block of ice, I boiled tap water briefly, put it into the cooler, let it cool down for several hours, then froze it on the highest (warmest) setting in my home freezer. 

    For the second block of ice, I used tap water that I poured into the cooler, let it set out overnight, and froze it the same way. The theory of letting it sit overnight was that the air bubbles introduced via the sink aerator and pouring water from one vessel to another would fizz off naturally. 

    For the third block of ice, I put tap water through a Brita filter, and was generally extra careful to not introduce air by splashy pouring. (I was hoping the filtering and light handling would further reduce aeration.)

    Results: The fully cloudy, opaque (unusable) section of of the block is slightly reduced in the boiled water vs. unboiled. If I were making ice in an industrial capacity using coolers, it probably wouldn't be worth the time/effort/heat to boil the water to produce rather than getting it done 5 hours earlier and having a half an inch less usable ice. 

    However, the amount of thin streams of bubbles in the clear part, which look okay but not perfect when cut into cubes (though a bit more dramatic in pictures), seems significantly reduced in the boiled water block.

    Conclusion: Boiling water before freezing in the directional freezing system does appear to improve the clarity of ice, in particular by eliminating bubble streams in the section of ice just before the solidly cloudy final bit.

    It does not improve ice clarity on its own more than directional freezing does in the first place, and therefore won't replace directional freezing (and boiling water was the first experiment I did in trying to make clear ice eight years ago), however it can make directionally-frozen ice better. 

    It seems the natural aeration of water poured from the sink is reduced, though certainly not eliminated, by boiling the water before freezing it. 

    A future experiment (not sure if I'll actually do it) would be to let the boiled water cool down to the same temperature as the unboiled water before freezing, though I doubt this would have any impact. 

    How will I change the way I make ice at home? I will not. I try to use filtered water, frozen in a cooler, removed after 2-3 days so the cloudy bottom part hasn't formed at all. 
     

  • How Many Potatoes are in One Bottle of Vodka?

    Answer: This many.

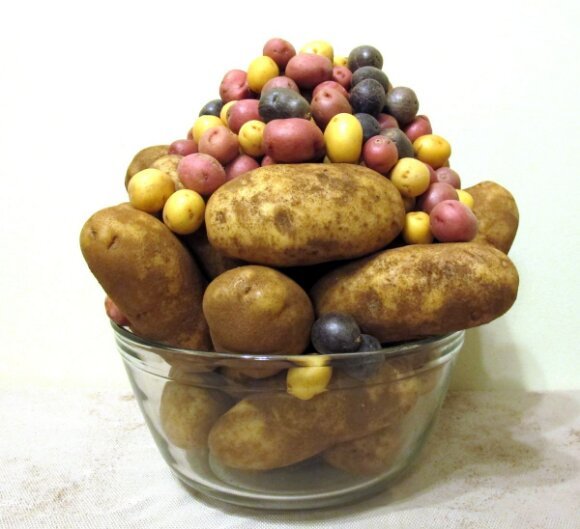
    Potato pile3

    This the how many are in one bottle of Karlsson's Vodka, that is. That is one 15-pound bag of Russet potatoes and two 1-pound bags of mini-potatoes, all stacked in my extra-large salad bowl. Perhaps I need to get a real hobby.

    Karlsson's uses about 17 pounds of potatoes- nearly twice as much other potato vodka brands, because Karlsson's uses small heirloom potato varietals from southern Sweden. These potatoes are rich in flavor and protein but lower in carbohydrates than traditional Russet potatoes shown above.  They are less efficient for distillation than fuel potatoes- but delicious to eat and drink. 

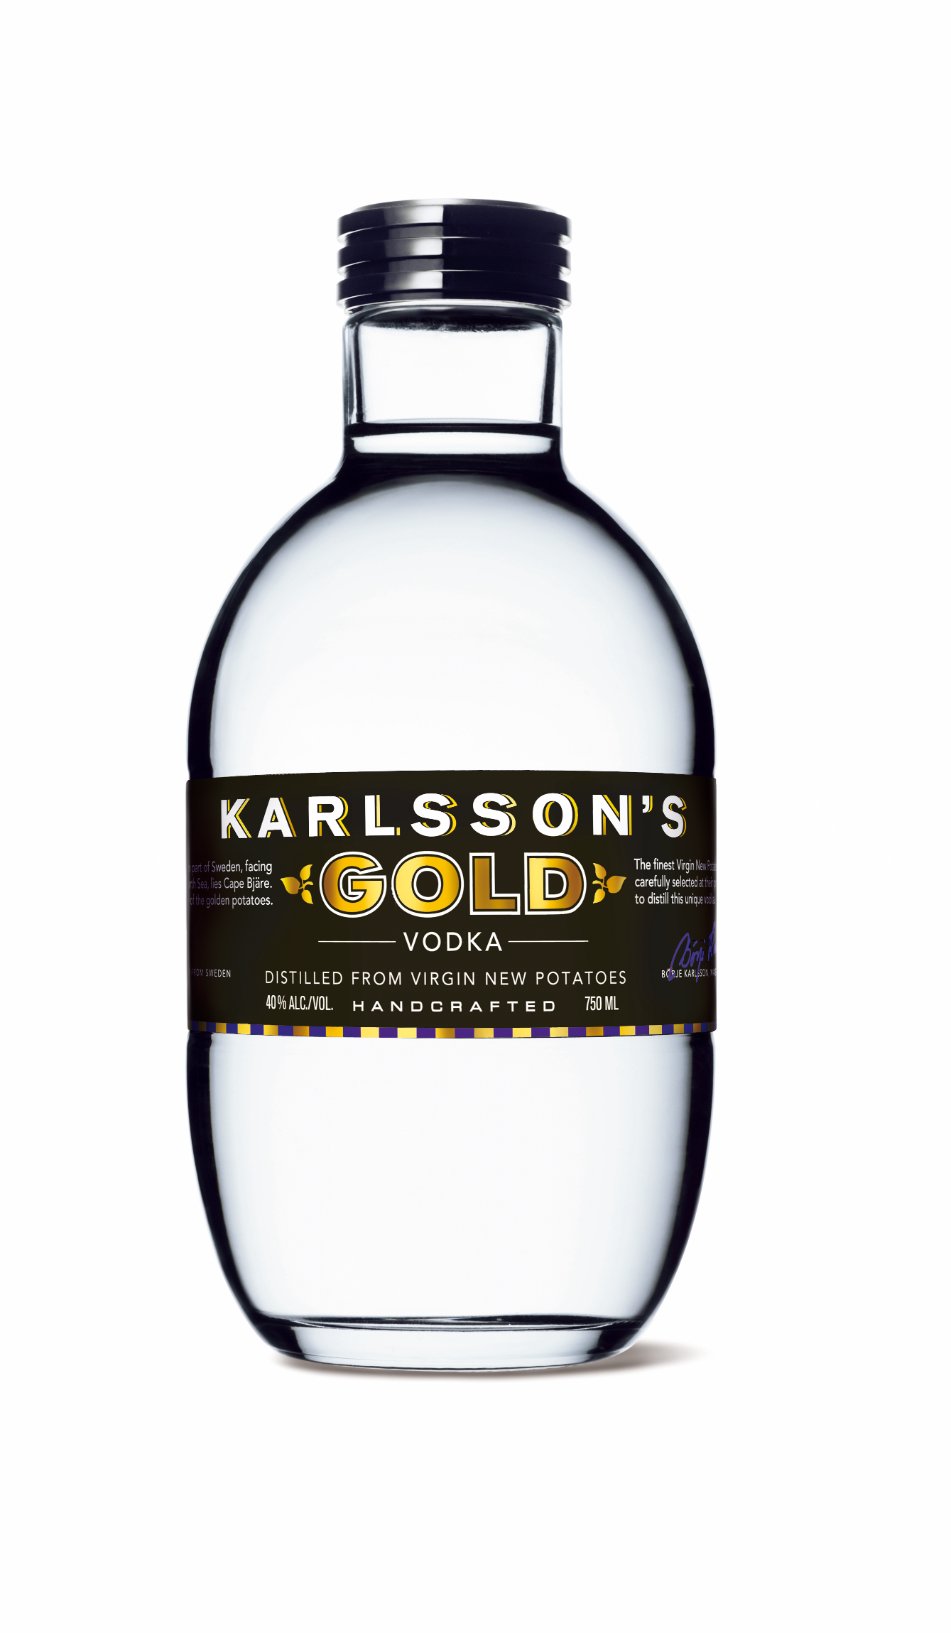
    To put it in perspective, I took the picture next to an empty Karlsson's bottle:

    Potato pile2

    That's a lot of potatoes! They (well not these) will be fermented, distilled up to 96% ABV, then diluted back down to 40% for bottling strength. 

    KarlssonsBottle

    This post is part of a little project on potatoes and Sweden I'm doing for Karlsson's Vodka. Karlsson's Gold is a blend of seven heirloom potato vodkas. 

    Read about my adventures to Sweden with Karlsson's and learn how it's made here


  • More Fun with Ice: The Time Bomb

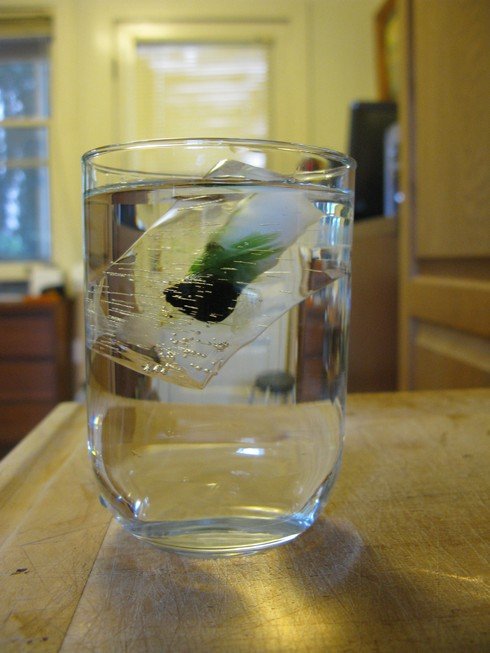
    The fun with ice continues! In ongoing experiments freezing things in ice, I decided to try freezing food coloring in the middle of an ice cube. Then when the ice melts, the coloring will release and change the drink. 

    Ice in glass_tn
    Click on the link below to see how I did it and what happened. 

    (more…)