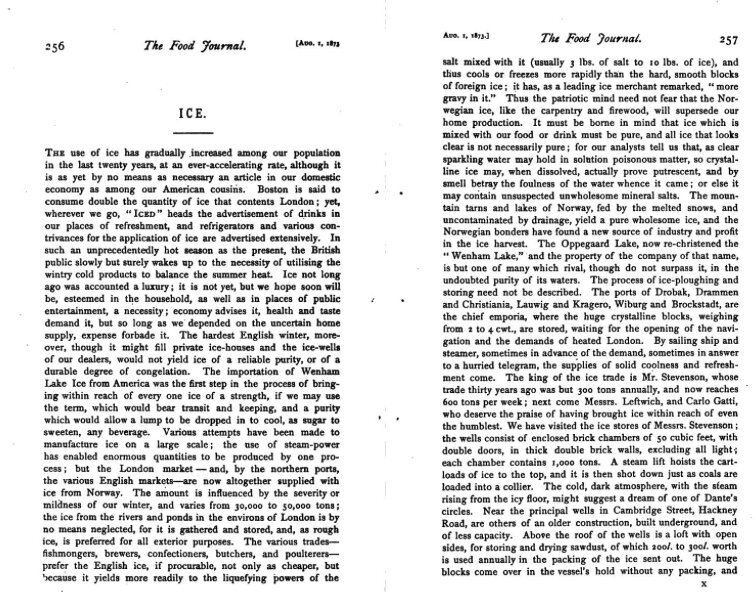
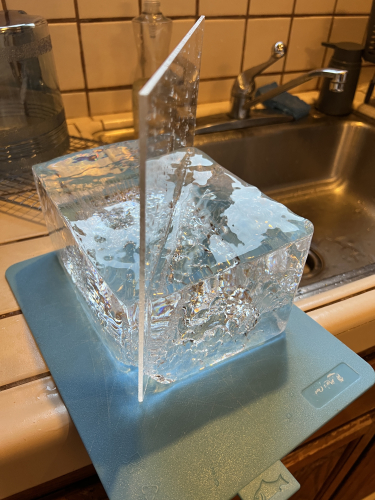
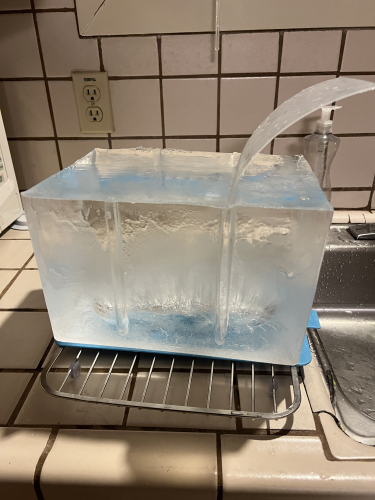
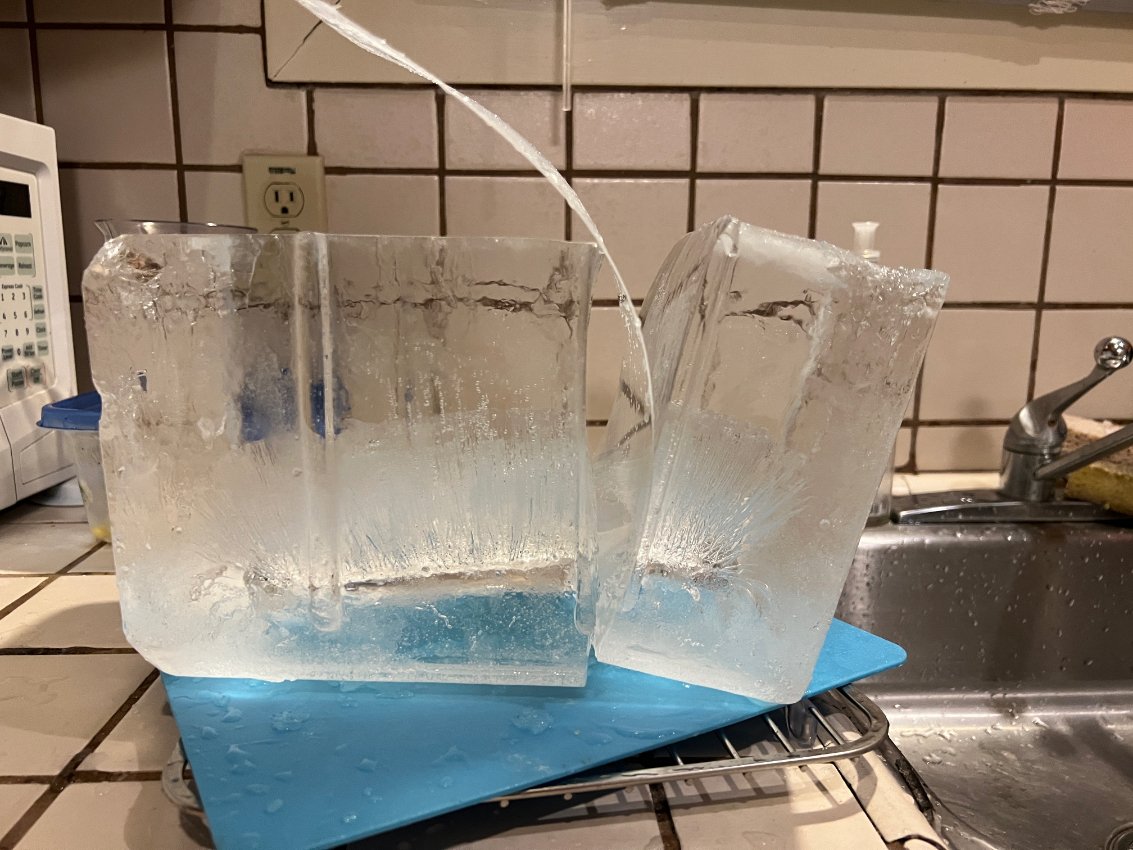
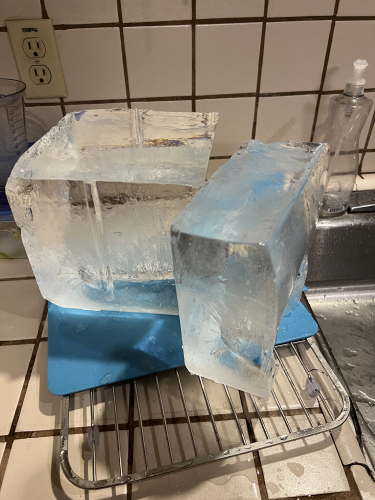
 I was searching for some information on Wenham Lake Ice and stumbled across this article in The Food Journal, published in London in 1873.
Wenham is a lake in Massachusetts and its ice was famous and exported to London (I have some interesting info about that in Doctors and Distillers), but by the time this article was written, the Norwegians had renamed one of their lakes Wenham Lake in order to sell it by that name. Pretty sneaky!
Information about that is in the story below, but mostly I'm intrigued by how ice is described as this new material and the writer describes possible uses for it.
I highlighted the fun stuff in bold.
The use of ice has gradually increased among our population in the last twenty years, at an ever-accelerating rate, although it is as yet by no means as necessary an article in our domestic economy as among our American cousins. Boston is said to consume double the quantity of ice that contents London; yet, wherever we go, "Iced" heads the advertisement of drinks in our places of refreshment, and refrigerators and various contrivances for the application of ice are advertised extensively. In such an unprecedentedly hot season as the present, the British public slowly but surely wakes up to the necessity of utilising the wintry cold products to balance the summer heat. Ice not long ago was accounted a luxury; it is not yet, but we hope soon will be, esteemed in the household, as well as in places of public entertainment, a necessity; economy advises it, health and taste demand it, but so long as we depended on the uncertain home supply, expense forbade it. The hardest English winter, moreover, though it might fill private ice-houses and the ice-wells of our dealers, would not yield ice of a reliable purity, or of a durable degree of congelation. The importation of Wenham Lake Ice from America was the first step in the process of bringing within reach of every one ice of a strength, if we may use the term, which would bear transit and keeping, and a purity which would allow a lump to be dropped in to cool, as sugar to sweeten, any beverage. Various attempts have been made to manufacture ice on a large scale; the use of steam-power has enabled enormous quantities to be produced by one process ; but the London market — and, by the northern ports, the various English markets—are now altogether supplied with ice from Norway. The amount is influenced by the severity or mildness of our winter, and varies from 30,000 to 50,000 tons; the ice from the rivers and ponds in the environs of London is by no means neglected, for it is gathered and stored, and, as rough ice, is preferred for all exterior purposes. The various trades— fishmongers, brewers, confectioners, butchers, and poulterers— prefer the English ice, if procurable, not only as cheaper, but because it yields more readily to the liquefying powers of the salt mixed with it (usually 3 lbs. of salt to 10 lbs. of ice), and thus cools or freezes more rapidly than the hard, smooth blocks of foreign ice; it has, as a leading ice merchant remarked, " more gravy in it.*' Thus the patriotic mind need not fear that the Norwegian ice, like the carpentry and firewood, will supersede our home production. It must be borne in mind that ice which is mixed with our food or drink must be pure, and all ice that looks clear is not necessarily pure; for our analysts tell us that, as clear sparkling water may hold in solution poisonous matter, so crystalline ice may, when dissolved, actually prove putrescent, and by smell betray the foulness of the water whence it came; or else it may contain unsuspected unwholesome mineral salts. The mountain tarns and lakes of Norway, fed by the melted snows, and uncontaminated by drainage, yield a pure wholesome ice, and the Norwegian bonders have found a new source of industry and profit in the ice harvest. The Oppegaard Lake, now re-christened the ** Wenham Lake," and the property of the company of that name, is but one of many which rival, though do not surpass it, in the undoubted purity of its waters. The process of ice-ploughing and storing need not be described. The ports of Drobak, Drammen and Christiania, Lauwig and Kragero, Wiburg and Brockstadt, are the chief emporia, where the huge crystalline blocks, weighing from 2 to 4 cwt., are stored, waiting for the opening of the navigation and the demands of heated London. By sailing ship and steamer, sometimes in advance of the demand, sometimes in answer to a hurried telegram, the supplies of solid coolness and refreshment come. The king of the ice trade is Mr. Stevenson, whose trade thirty years ago was but 300 tons annually, and now reaches 600 tons per week; next come Messrs. Leftwich, and Carlo Gatti, who deserve the praise of having brought ice within reach of even the humblest. We have visited the ice stores of Messrs. Stevenson ; the wells consist of enclosed brick chambers of 50 cubic feet, with double doors, in thick double brick walls, excluding all light-; each chamber contains 1,000 tons. A steam lift hoists the cartloads of ice to the top, and it is then shot down just as coals are loaded into a collier. The cold, dark atmosphere, with the sfeam rising from the icy floor, might suggest a dream of one of Dante's circles. Near the principal wells in Cambridge Street, Hackney Road, are others of an older construction, built underground, and of less capacity. Above the roof of the wells is a loft with open sides, for storing and drying sawdust, of which 200/. to 300/. worth is used annually in the packing of the ice sent out. The huge blocks come over in the vessel's hold without any packing, and are handled like blocks of marble. But many a one who has vexed his soul with trying to break a lump of ice will be surprised to learn that to split them into manageable pieces it is only required to take a sharp-pointed "ice-dibber" like a large brad-awl, and with this to stab the surface, making several slight holes in a line, when the block splits without any further trouble; to divide a small piece of the hardest ice, you need only take a bodkin and sharply prick it, and it will break up without flying into your face or your neighbour's lap—wit herein surpassing strength.
The ice as imported can be sold at prices var}'ing from 30J. to 40X. per ton; but, of course, the waste and fluctuations in demand, and the difference in the rate of supply to large and small consumers do not allow it to reach the general public at that rate; but the supply is always equal to the demand; and the hardy Norseman, by the beneficent intervention of Messrs. Stevenson, Leftwich, Gatti, Kent, the Wenhan\ Lake Company, or Messrs. Duus and Brown, of Fenchurch Street, can furnish us all with this cheap luxury, whenever that happy time comes in which Londoners are as wise as the Americans in the use of ice. We have already enumerated the trades in which ice is used: the fishmongers and daitymen long monopolised it as a preservative; now the butchers and poulterers employ it extensively; the brewers use rough ice to cool their wort, or even throw the Norwegian blocks into the vats; bacon, too, is cured by its help. The public more directly appreciates the luxury of ices and iced drinks, and, in the household, the benefit of refrigerators ensuring cool water, solid instead of oleaginous butter, and joints kept long enough to be tender, without disappointing the mistress and destroying the equanimity of the master. We will not attempt to enlarge upon the different varieties of ice pudding, dessert ices, etc. Next to their richness and flavour, the great secret of their preparation lies in the care with which they are whipped or churned during congelation. Most machines for this purpose are constructed on the rotary principle. Kent's Paragon Freezer appears adapted to save labour, and the Imperial of the Wenham Company is also a good one for the purpose. Ash's Piston Freezer, as its name imports, is worked up and down, and an advantage is obtained of being able to ice wine, make, block ice, and freeze dessert ices in one operation: in all these either ice and salt is used, or else freezing powders. A very simple one can be made Sy mixing i lb. nitrate of ammonia, i lb. carbonate of soda, and pint of water; or a more intense freezing mixture, with 2 lbs. pounded ice and 3 lbs. crystallised chloride of calcium or salt of lime. It may not be amiss to remark that a quantity of ice after meals is injurious, by stopping the secretion of gastric juice, and interfering with the process of digestion. A gastronomic process may also be made against the somewhat senseless fashion of following up iced pudding with post-prandial dessert ices—^that is to say, if you relish your wine. The palate is demoralised. Far better to keep the ices for the drawing-room, for both the digestion of the dinner and the enjoyment of the wine will be improved by the postponement. We will not venture on praise or dispraise of the various ices of the numerous confectioners; we only wonder at the badness of some, and rejoice to see the custom of mixed, or *' Neapolitan," ices becoming general, the water ice, by the harmonious discord of quality and flavour, improving the cream. It is a cause of wonder why, in some confectioners' shops and in theatres, is, should be charged for ices neither so 'good nor so plentiful as Carlo Gatti, for instance, serves in that beautifully decorated caf6 near the Hungerford Pier.
The mention of Mr. Gatti reminds us that the enjoyment of ices is now by no means a luxury confined to the possessor of 6d., for he was the first introducer of penny ices. He himself assured us that in 1851 he sold no less than 3,000,000; and now, though they are not as popular, partly owing to the carelessness of the vendors, there are two hundred shops in London where penny ices are procurable; but besides these we have seen little gamins, such as thrust iht Echo, Sun, and ** box o' lights" in the faces of passengers, standing round a street ice-stall, each with his glass of bi-coloured ice, licking it up, spoons being despised, with great enjoyment, and paying id. only for it. An itinerant vendor, whose stall was in Seven Dials, informed us that on a fairly hot day his average earnings were 71.; his ices, of one colour, were composed of eggs, milk, arrowroot and sugar, and he could sell 5J. worth for 12j. The ice necessary for freezing he bought for 2j. id, per cwt.—English ice. Whit-Monday, with its blazing heat, was a great day for him, for he sold halfpenny ices at Hampstead Heath to the amount of 3/. 15 j. ! At all events they were innocuous, which is more than we can say of all cheap popular refreshments.
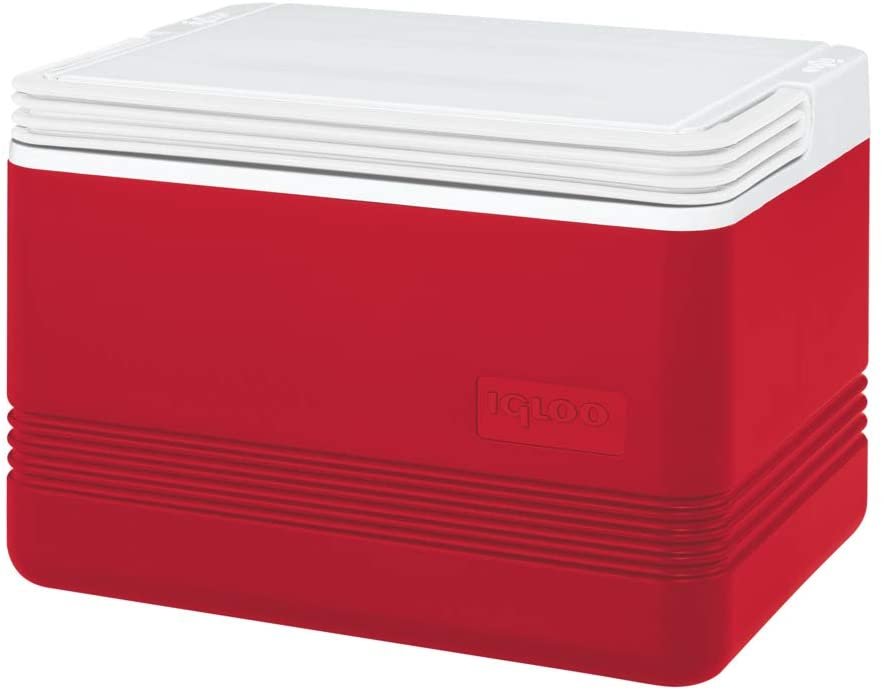
We hope it will not be deemed an impertinence to suggest to the reader that wine is very often spoiled by being iced instead of merely cooled. If the wine be bad, especially " sparkling," ice it well by all means, and drink it while effervescing, and you will not notice its quality so much, till afterwards. If good, let it be first cooled, not in ice, but water with some ice in it, so as to avoid excess of cold; for the colder the wine the less its flavour, and you can, if-you choose, sacrifice the flavour to the luxuty of a cool drink. Champagne frappi is a specialiii. The water is frozen, and the delighted but extravagant palate is rejoiced with the spirit and the liqueur. It is to bB remembered that it is needful to wrap a wet cloth round the bottle when removed from the cooler. As for iced cups and mixtures, their name is legion, as may be said of the many refrigerators of all sorts and sizes. Norway, not content with supplying ice, has recently sent over very cheap refrigerators, which certainly seem adapted for simple use, and are decidedly so for households of small incomes. The danger, so often incurred, of the various meats, fruits, etc., being contaminated by any ill-odour, or even by the closeness of the vessel, is admirably obviated by Kent's ventilating refrigerator. The same ingenious inventor has supplied our licensed victuallers with a bottle refrigerator, or ice wine bin, and has met the requirements of small families by a miniature contrivance which can stand on the sideboard, or even ensure a comforting coolness of drink for the sick patient. A very complete and elaborate affair is the '* Duplex '* of the Wenham Company, which can be used either for rough or block ice, and is furnished with a tank for iced water. We would not advise the possessors to use this water for their matutinal tub, however grateful the chill of the water may be. No one over twenty-five, or under, if wise, will subject himself to the injurious and depressing influence upon the system exercised by a really cold sponge bath. We can only briefly touch on the use of ice as a hygienic agent. Not only are iced drinks grateful to the fevered palate, but the sick craving for them may be safely gratified; and we must here mention a fact creditable to the charitable donor, that any sick person, at any hour of "day or night, is supplied with ice gratis at Mr. Gatti’s ice stores, on production of a medical certificate. Ice is the best remedy in coup de soleil, or any headache brought on by exposure to the sun, as its application produces constriction or contraction of the minute blood-vessels, which are relaxed by the heat. For hemorrhage and irritability of the stomach, ice is largely used as a remedial agent. We do not know whether its application is a remedy for sea sickness, but we are sure that the increased employment of it in our hospitals would be of great advantage, and we heartily commend the example of Mr. Gatti's benevolence in ice to our other ice importers.
